Uncanny Automator offers a user-friendly solution for automating workflows and enhancing user experiences on your WordPress site. Whether you’re a beginner or an experienced user, you can create recipes (automations), without any coding knowledge. These recipes enable actions to occur automatically when specific events take place.
If you have the free version of Uncanny Automator, you’ll first need to connect your site with a free Uncanny Automator account, which will give you 250 free app credits to use with apps like Zoho Campaigns. If you have Uncanny Automator Pro, simply activate your Pro license key to get unlimited app credits.
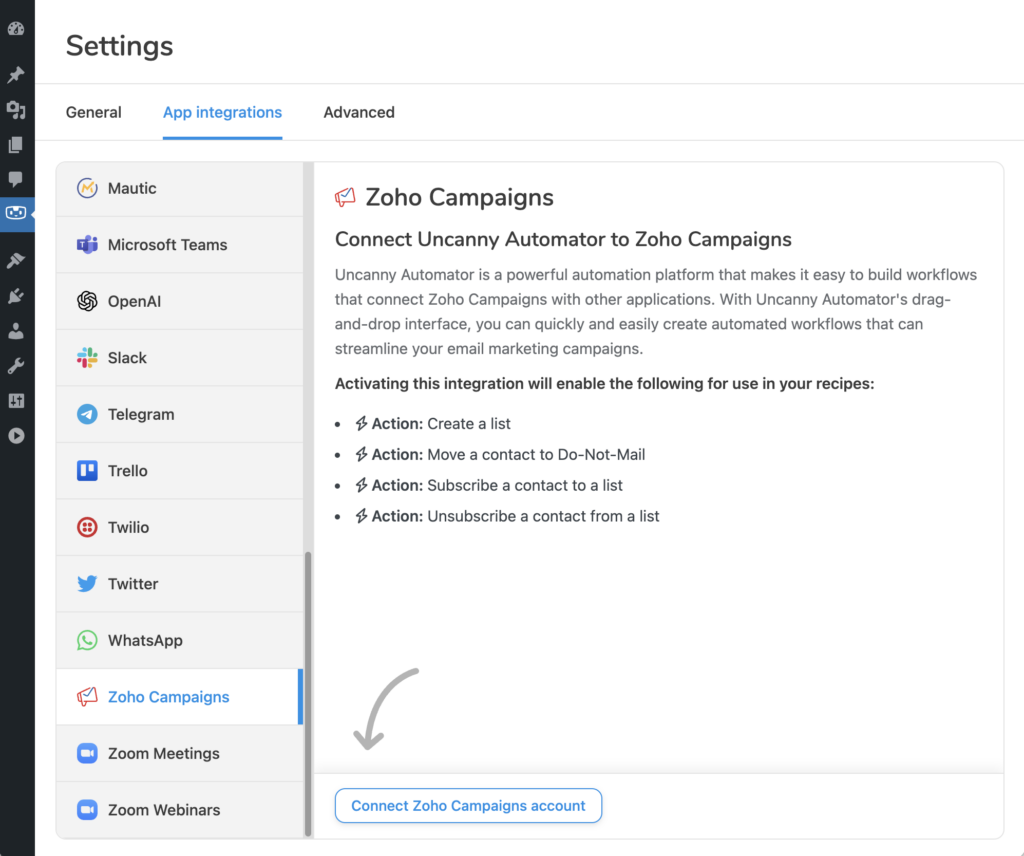
The integration between Uncanny Automator and Zoho Campaigns offers four essential actions for Zoho Campaigns users:
- Create a list: Easily generate lists within Zoho Campaigns directly from your WordPress site.
- Move a contact to Do-Not-Mail: Effortlessly manage contact preferences and comply with email marketing regulations by moving contacts to the Do-Not-Mail list.
- Subscribe a contact to a list: Automate the process of subscribing contacts to specific lists based on their interactions, such as site activity, purchases, form submissions, and more.
- Unsubscribe a contact from a list: Streamline list management by automatically unsubscribing contacts from specific lists, ensuring accurate targeting and minimizing spam complaints.
Connecting a Zoho Campaigns account
The first step is to connect your site to Zoho Campaigns using Uncanny Automator.
On your site, navigate to Automator > Settings > App Integrations. Locate Zoho Campaigns in the list and click Connect Zoho Campaigns account.
If you’re not logged in, you will be asked to log in to Zoho Campaigns. Once you’re logged in, click Accept on the next screen to connect your account.

Creating a recipe using Zoho Campaigns
With Zoho Campaigns connected, you can now create your first recipe. Please refer to the Knowledge Base for more details on how to create a recipe.
In this example, we’ll be creating the recipe: when a user comments on a post, add the user’s email to a specific Zoho Campaigns list.
Navigate to Automator > Add New. Depending on the trigger type you need, choose Logged-in users or Everyone. (For more details on Logged-in vs. Everyone recipes, check out this article.)
Click Confirm.

To add our trigger, click the WordPress icon and search for A user submits a comment on a post.

From the drop-down, choose an appropriate post type and post, then click Save.

Click Add Action and continue by choosing Zoho Campaigns from the available list of integrations. Search for the action Subscribe a contact to a list and select it to add it to your recipe.
In the List drop-down, choose a the list the user will be added to when they comment on the selected post.
In the Email field, let’s choose the Commenter email token. (Learn more about tokens in Managing Tokens). This ensures the email of the person that made the comment will be added to the selected Zoho Campaigns list. Click Save.

Now that our recipe has a trigger and an action, set the recipe status to live to activate it.
That’s it! You now can add additional triggers (e.g. A user comments on a post AND fills out a form) or actions (Subscribe the user to a list AND send them an email) to your recipe, or create completely different recipes that help you manage your Zoho Campaigns from your WordPress site.


Comments (0)