

A recipe is a deterministic automation: triggers, conditions and actions that run the same way every time. This article walks through building a first recipe in the Uncanny Automator recipe builder: choosing a recipe type, adding a trigger and an action, switching the recipe on, and checking that it ran. The example sends an email every time a user logs in to the site, and it works with Uncanny Automator Lite and no other plugins.
Before you start, install and activate Uncanny Automator and log in to WordPress as an administrator.
Start a new recipe
- In your WordPress dashboard, go to Automator > Add new recipe.
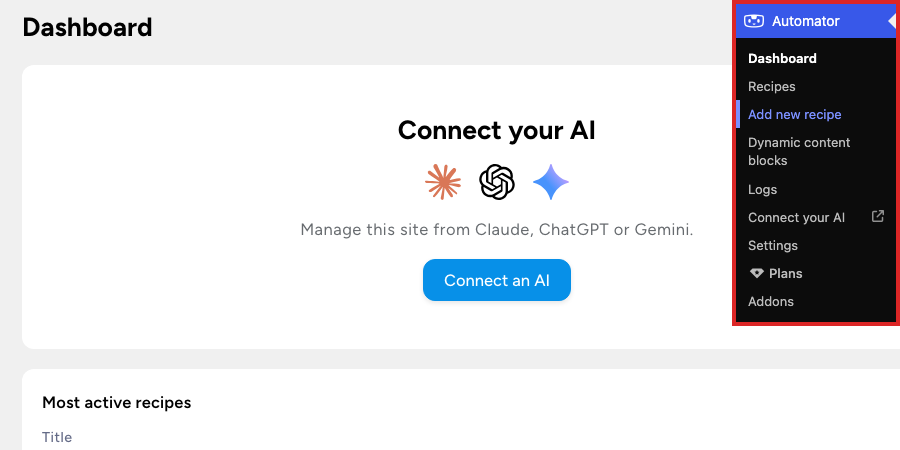
If none of your recipes is switched on yet, for example because this is your first, a short guided tour starts on the new recipe with Welcome to Uncanny Automator. It builds a different example (the WordPress Core trigger A user publishes a post and the Emails action Send an email) and holds back other choices in the picker while it runs. To follow this article instead, close the tour with the × in its corner. A tour you close or finish does not start again.
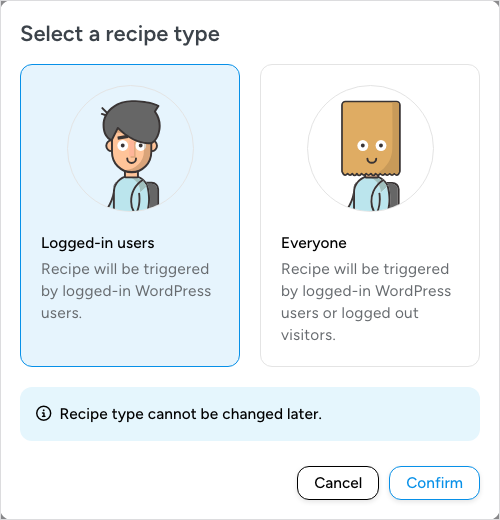
- In the Select a recipe type modal, click Logged-in users, then click Confirm. A Logged-in users recipe is triggered by logged-in WordPress users, which is what a login trigger needs. The type cannot be changed later, so if you are unsure which one you need, read Recipe types: logged-in users and everyone first.
- Click Name your recipe at the top of the builder and type a title, for example Welcome email on login. The title saves as soon as you stop typing, like everything else in the builder: the status next to the title reads Saving… and then Saved. There is no Save, Update, or Publish button.
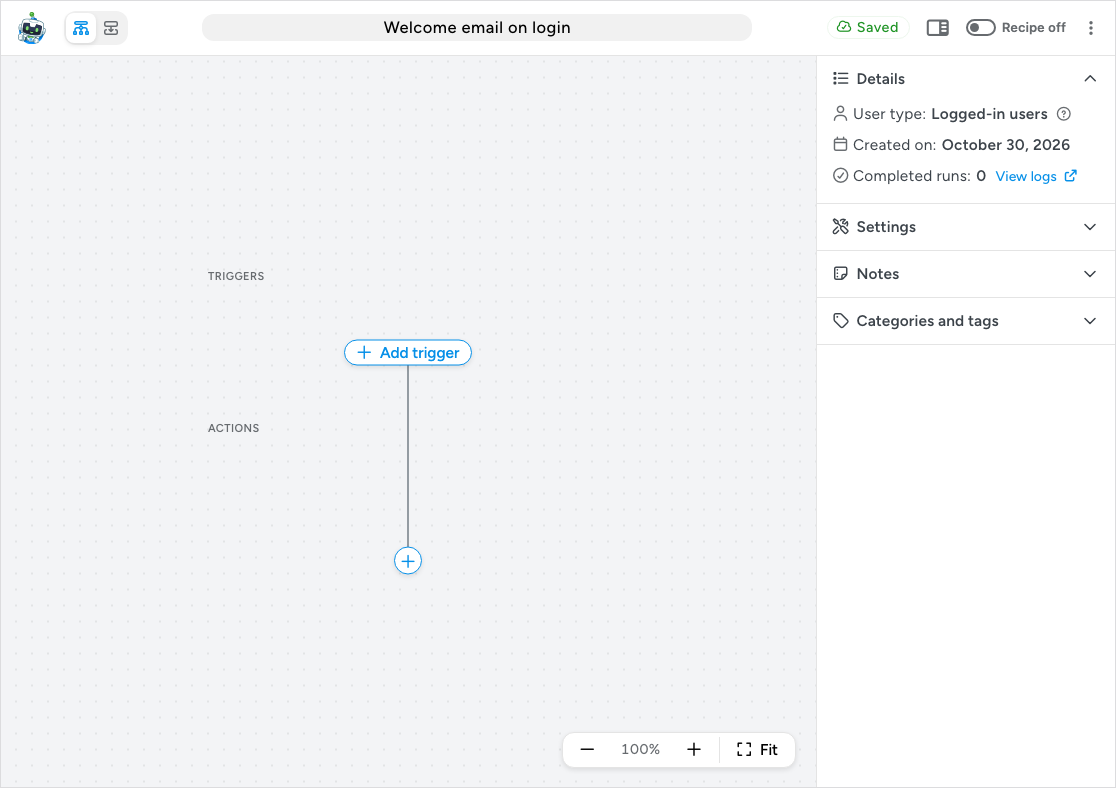
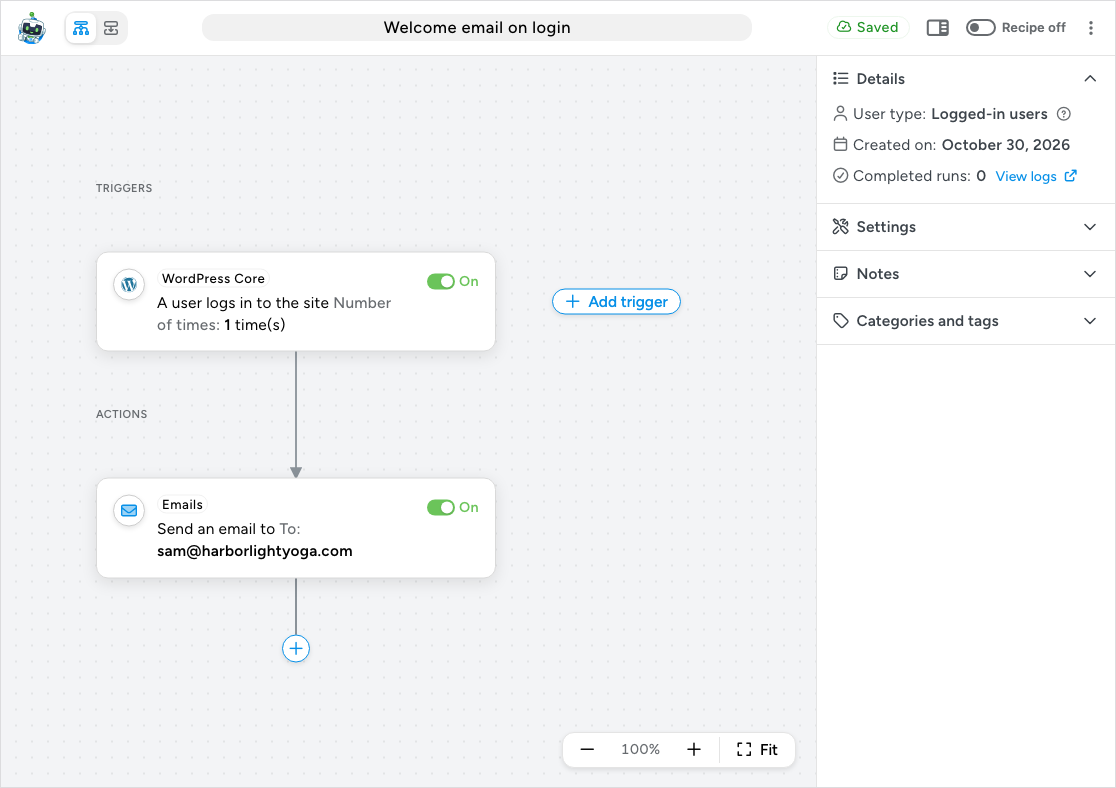
If this is the first recipe you create on the site, the builder opens in Diagram view: a canvas with TRIGGERS at the top, ACTIONS below, and a + at the end of the flow. If you created recipes here before, it opens in List view instead, which shows the same items as a stacked list. Switch with the Diagram view and List view buttons at the left of the top bar; the builder remembers your choice (see Diagram view and List view). The steps below are the same in both views, and the screenshots show Diagram view. The sidebar on the right holds the recipe’s Details, Settings, Notes, and Categories and tags.
Add the trigger
A trigger is the event that starts the recipe. Every recipe needs at least one.
- In the TRIGGERS section, click + Add trigger. The picker opens on its Integration step. Ready-to-use only is switched on, so the picker shows only the integrations you can use right away, with no installs, account connections, or plan upgrades.
- Click WordPress Core in the All integrations list, or type WordPress in the search box. Integrations your recipes already use also appear at the top of the picker, under Recently used integrations and Most used integrations.
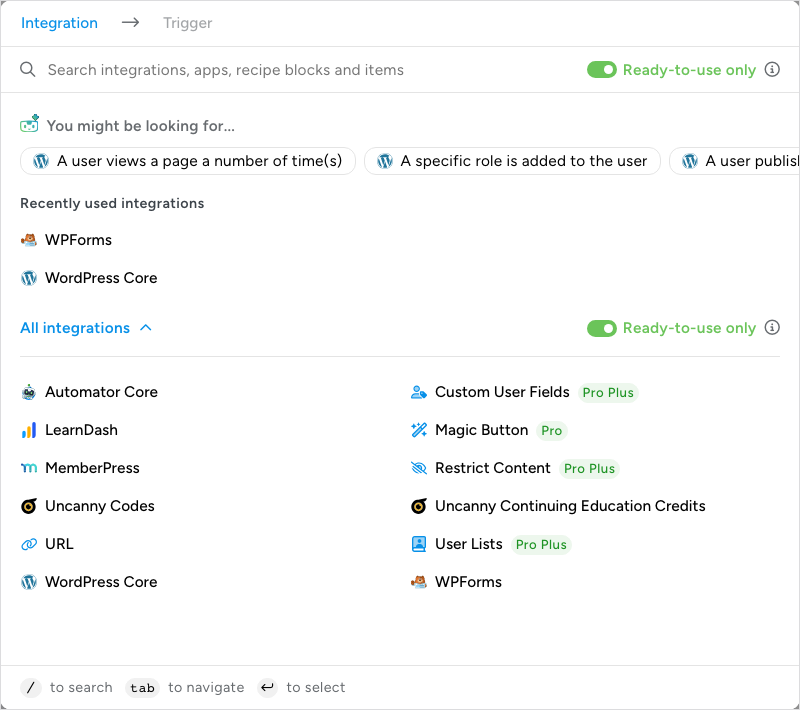
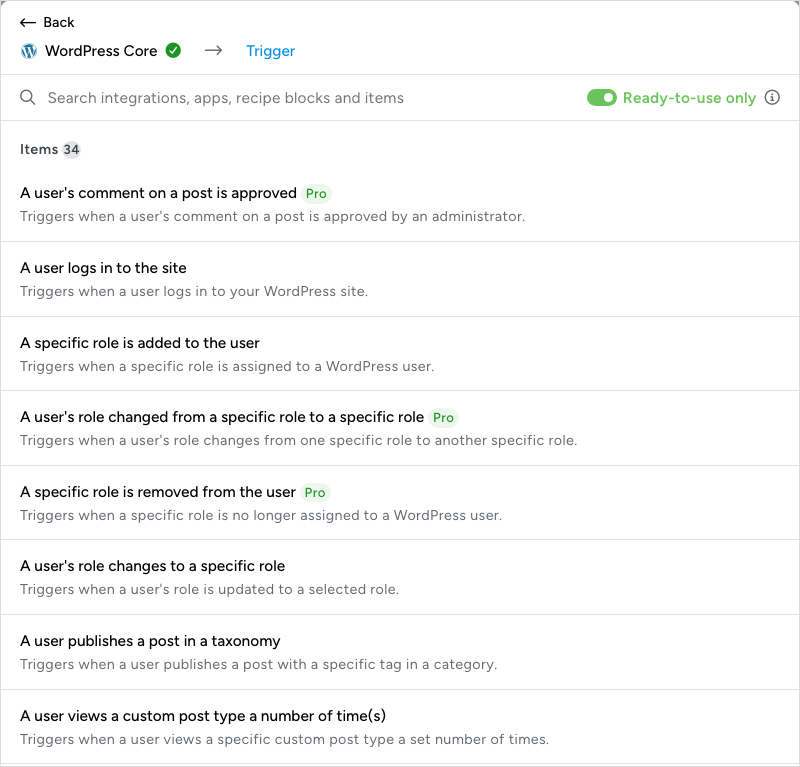
- On the Trigger step, click A user logs in to the site.
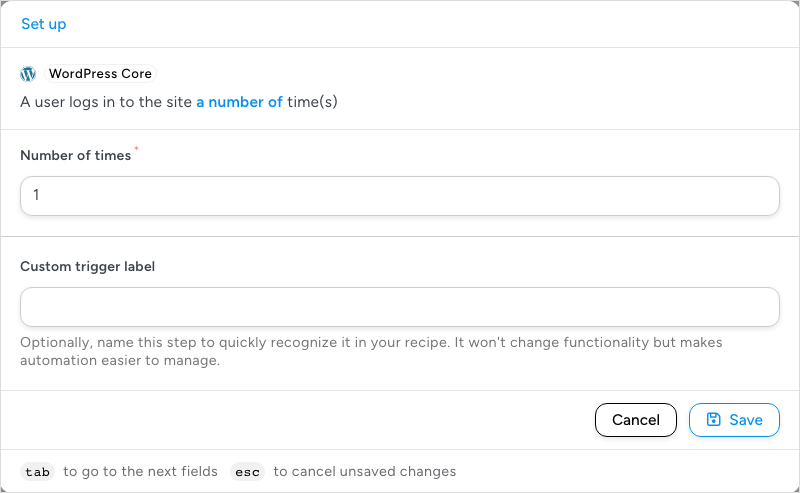
- The Set up step opens. The trigger sentence appears at the top with its editable part highlighted, and the fields below it fill in that part. Number of times is set to 1, which means the recipe fires on every login; raise it to fire only after a user has logged in that many times. Custom trigger label is optional: it renames the step in your recipe and does not change what it does.
- Click Save. This trigger has no Test step, so Cancel and Save are the only buttons, and the modal closes when you save.
The trigger now appears as a node in the TRIGGERS section with its own On switch, which is on from the start.
Add the action
An action is what the recipe does when the trigger fires.
- Click the + at the end of the flow. The picker opens on its Integration step for an action.
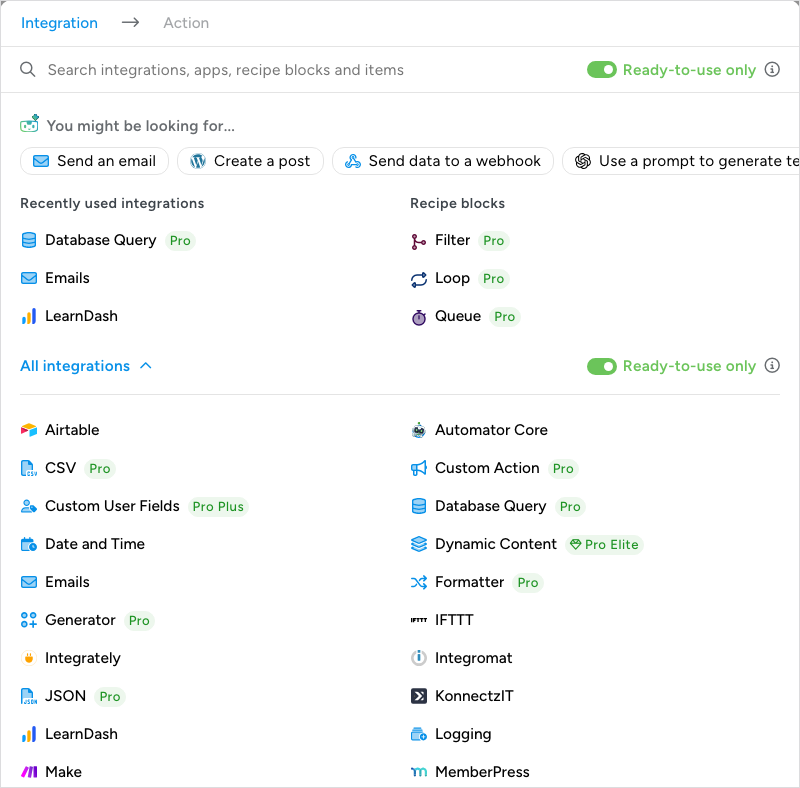
- Click Emails in the All integrations list, then click Send an email. If Send an email is listed under You might be looking for…, click it there to skip the integration step.
- On the Set up step, fill in the email. From and From name are prefilled with the Admin email and Site name tokens, so the email comes from your site. In To, type an address you can check, such as your own; separate several addresses with commas. Fill in Subject and Body. Content type is HTML unless you change it, and Reply to, CC, BCC, and File attachment are optional.
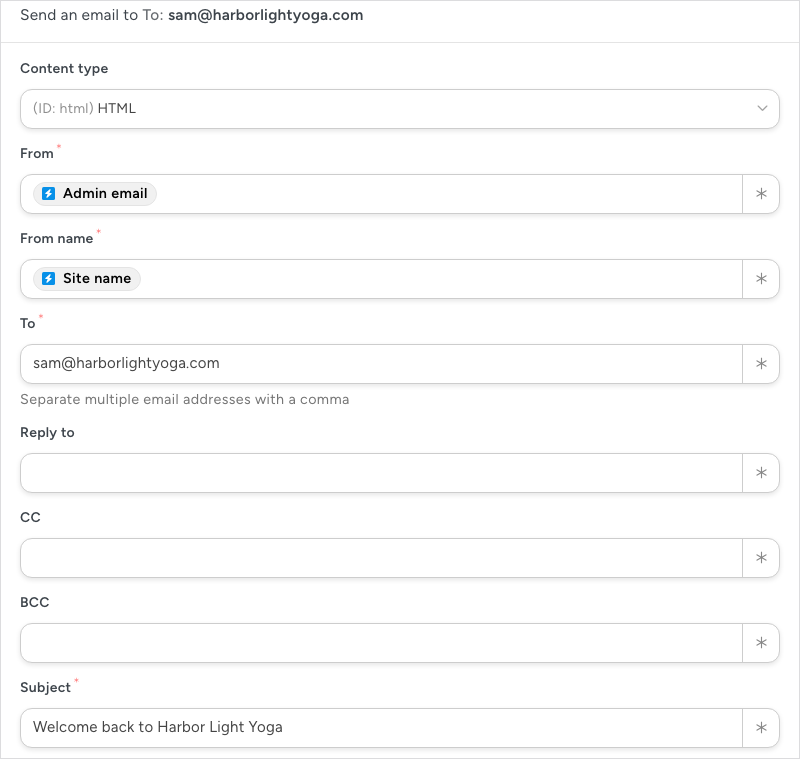
Any field with the ∗ button at its end accepts tokens: values pulled from the trigger and the site when the recipe runs. To send the email to the person who logged in instead of a fixed address, click ∗ in To and pick User email from the Common section of the picker’s Global tab. Managing tokens explains the token picker.
- Click Test to try the action before you switch the recipe on, or Save to save it as it is. An action saved without a test still runs normally.
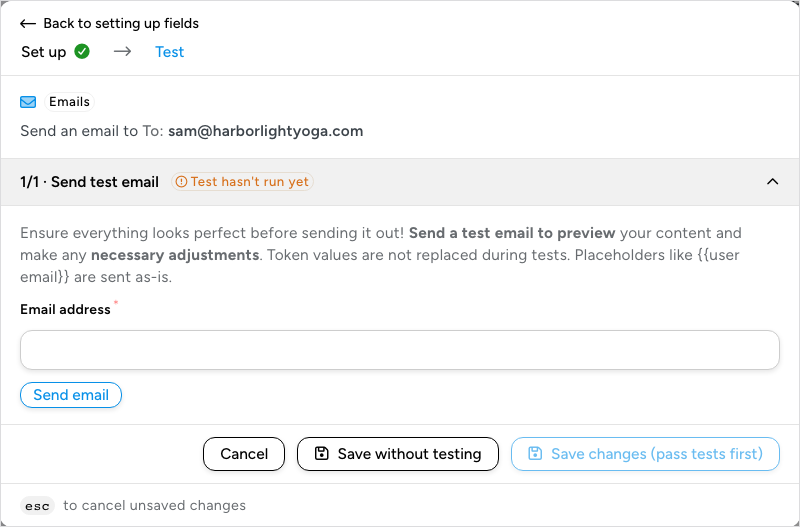
- On the Test step, enter an Email address under Send test email and click Send email. Token values are not replaced in a test, so placeholders such as
{{user email}}arrive as written. Until a test passes, the button reads Save changes (pass tests first) and cannot be clicked; when the test passes, click Save changes. If you do not want to send a test, click Save without testing. Testing triggers and actions covers the Test step in detail.
The action appears in the ACTIONS section, connected to the trigger by a line. Each trigger and action has an On/Off switch, a ⋮ menu with Duplicate and Delete, and a drag handle for reordering.
Switch the recipe on
A recipe runs only while it is switched on. New recipes start off, so you can finish the setup before anything fires.
- Check that the trigger and the action both show On. An item switched Off is skipped when the recipe runs.
- In the top bar, click the Recipe off switch. It changes to Recipe on and the recipe starts listening for logins.
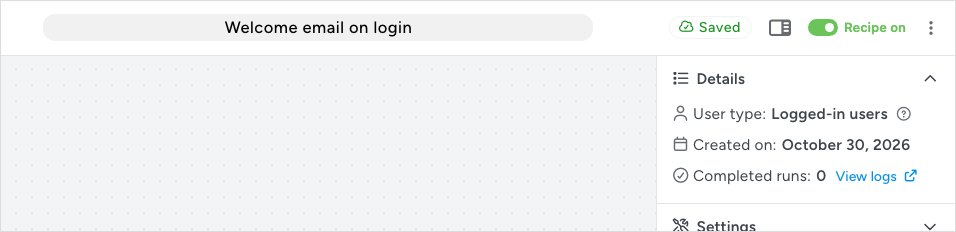
If something is missing, such as a trigger or an action, Automator opens This recipe can’t go live yet and lists what to fix. If your last change is still saving, wait for the Saved status and try again. To stop the recipe later, click Recipe on; Automator asks you to confirm, and the recipe stops being triggered.
Check that it ran
- Log out of WordPress and log back in. The trigger fires for any user, including you.
- Check the inbox you entered in To.
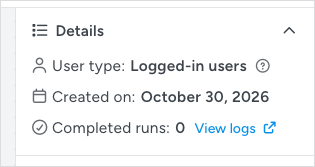
- Back in the builder, expand Details in the sidebar. Completed runs counts the recipe’s runs, and View logs opens the Logs page in a new tab. The same page is at Automator > Logs, with tabs for Recipe, Trigger, Action, and AI activity; each row records what fired, for which user, and whether it completed.
Things to know
- More triggers and actions: Add them with + Add trigger and the + at the end of the flow. When a recipe has more than one trigger, Change trigger logic appears so you can run the actions when any trigger fires or only after all of them have. See Managing triggers and Managing actions.
- Recipe settings: Times per user, Total times, and Throttle in the sidebar Settings panel limit how often the recipe runs. All three are unlimited until you change them. See Recipe settings: times per user, total times and throttling.
- Recipe blocks: With Uncanny Automator Pro, the picker also offers Filter, Queue, and Loop blocks for conditions, delays, and repeating actions. See Recipe blocks: Filter, Queue and Loop.
- More actions: The ⋮ menu in the top bar holds Run now, Duplicate recipe, Download recipe JSON, Move to trash, and Ask Uncanny Agent.
- Finding your recipes: Every recipe is listed at Automator > Recipes. Add Notes and Categories and tags from the sidebar to keep a long list organized.
Next: Recipe types: logged-in users and everyone, Recipe settings: times per user, total times and throttling, Testing triggers and actions, Finding integrations in the recipe builder, Moving to the new recipe builder

Comments (0)