

The Threads integration lets a recipe post to your Threads account whenever something happens on your WordPress site: a new blog post, a completed course, a form submission, or any other trigger. It has one action, Create a thread post. This article covers connecting your Threads account and adding the action to a recipe.
If you have Uncanny Automator Lite, you’ll first need to connect your site to a free Uncanny Automator account, which gives you app credits to use with Threads. On a paid plan, app integrations are included.
Important: Like other social platforms, Threads limits how often an account can post and what media it accepts. The Threads API overview lists the current rate limits and media restrictions.
Connect Threads
- Log in to the Threads account you want to post from.
- In your WordPress dashboard, go to Automator > Settings > App integrations > Threads.
- Click Connect Threads account.
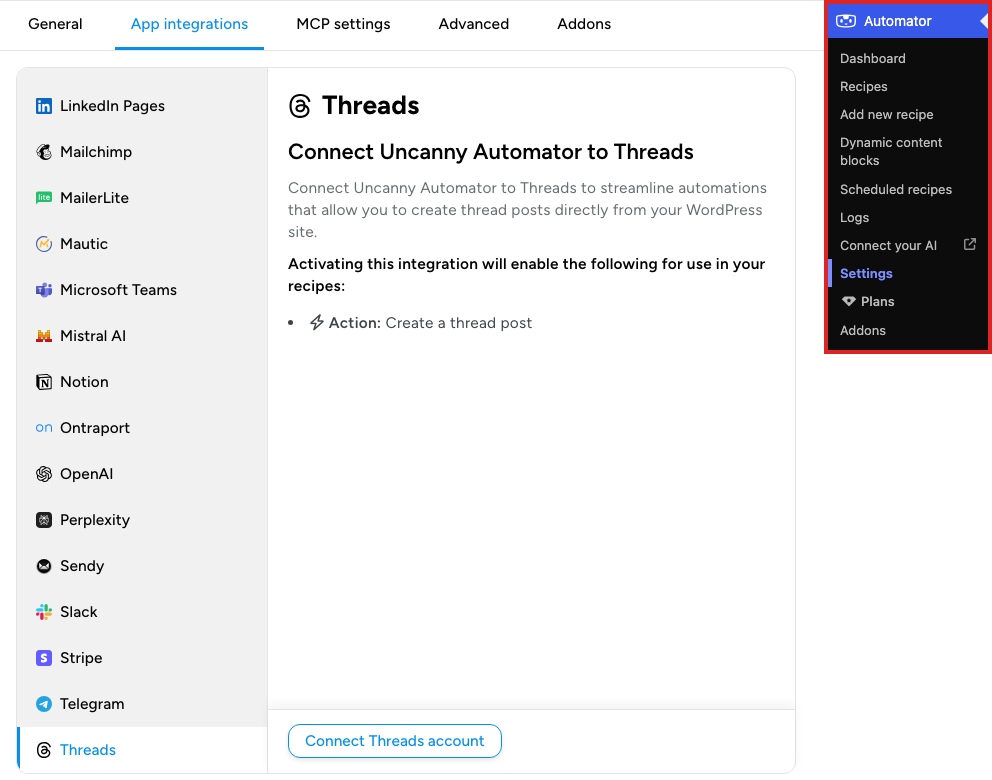
- Threads asks you to confirm the account. Click Continue as [your profile name] and allow the permissions Automator requests. You are returned to the Threads tab, which now shows the connected account.

Until an account is connected, the recipe builder’s picker hides Threads while its Ready-to-use only switch is on. Connect first, then build the recipe.
Posting to Threads from WordPress
- Go to Automator > Add new recipe, choose the recipe type, click Confirm, and add the trigger that should cause the post (see Creating a recipe).
- Click the + at the end of the flow. In the picker, type Threads in the search box, select Threads, then select Create a thread post.
- In the Set up step, fill in the two fields. Content is the text of the post. Image URL or Media library ID is optional: give it the full URL of an image or the ID of an item in your Media Library to attach an image to the post. Both fields accept tokens, so click the ∗ button at the end of a field to insert data from the trigger, such as the post title and URL (see Managing tokens).
- Click Save.
- Make sure the action and the trigger are On, then switch Recipe on in the top bar. The recipe saves automatically.
Best practices and troubleshooting
Threads enforces a character limit per post, a rate limit on how many posts an account can publish, and rules on media size and format. A recipe that sends content outside those limits fails at the Threads step. If a post does not appear, open Automator > Logs and check the Action tab for the recipe (see Using Automator logs), then check the content against the Threads API overview.
Related: Managing tokens, Finding integrations in the recipe builder, Using Automator logs

Comments (0)