

The Uncanny Automator Webhook Addon for Google Sheets sends the changes you make in a spreadsheet to a recipe on your WordPress site. Each time a cell is edited, the row’s values arrive as tokens, so you can keep user data in step with a master list in a sheet, update WooCommerce product data, and more. This article covers installing the addon in Google Sheets, adding the Google Sheets Web App trigger to a recipe, and capturing a sample row with the trigger’s Test step.
The trigger requires Uncanny Automator Pro.
Install the addon in Google Sheets
- Sign in to the Google account that has access to the sheets you want to connect.
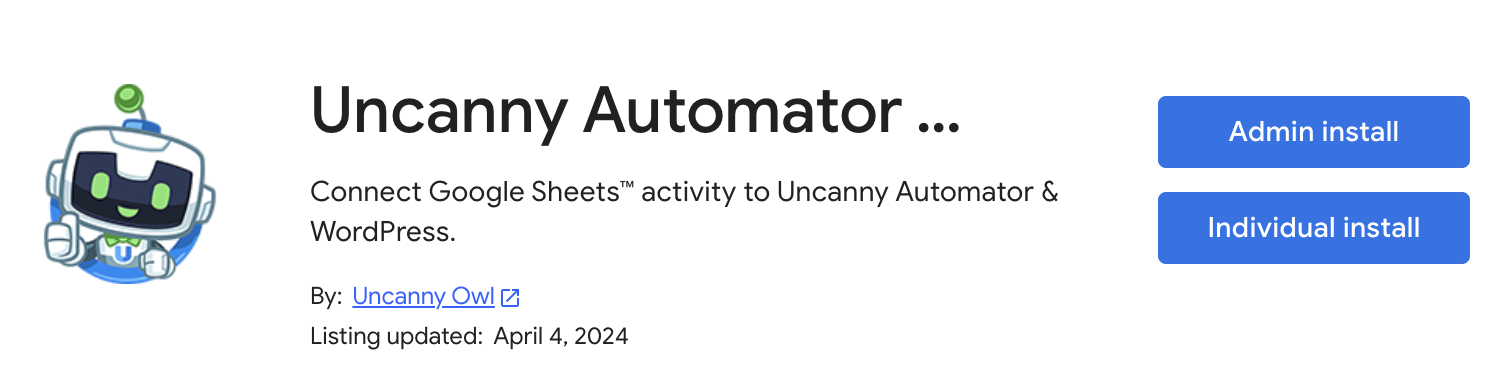
- Open the Uncanny Automator Webhook Addon page in the Google Workspace Marketplace.
- Choose an install type. Admin install appears if you manage a Google Workspace; in most cases Individual install is the right choice.
- Follow Google’s prompts to choose the account and grant the permissions. The addon sends data from your sheet to your recipe, so it needs permission to see the data in your sheets.
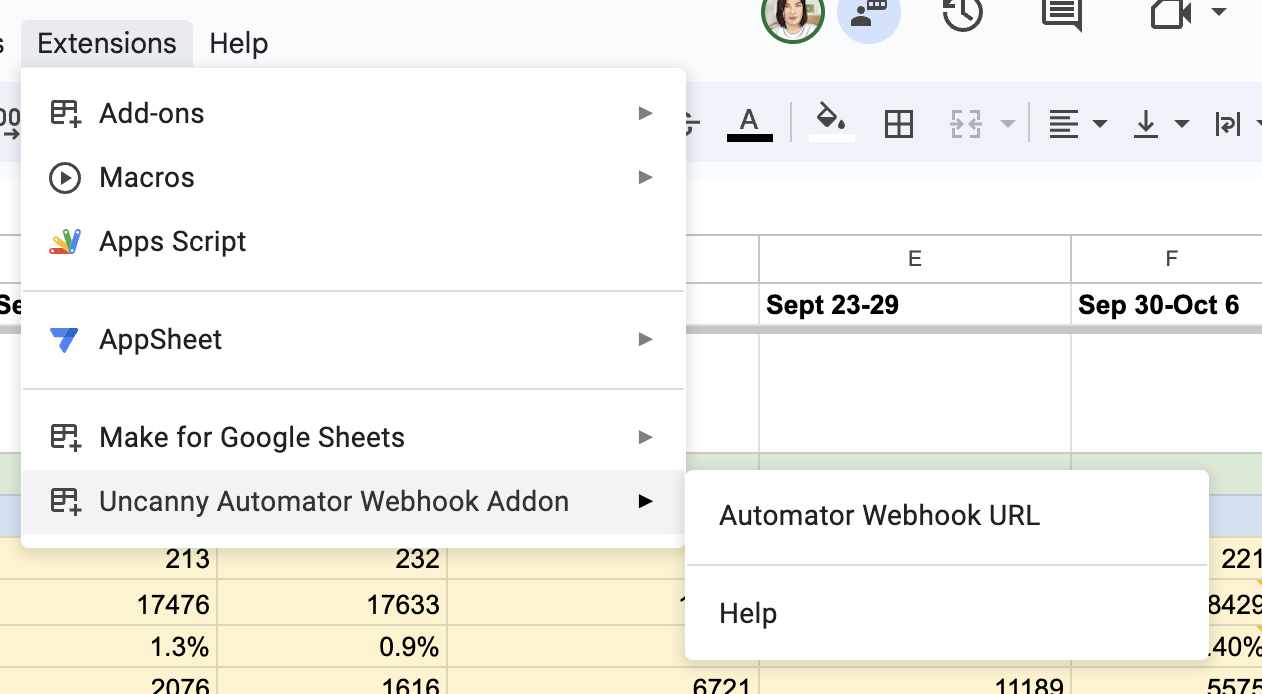
Once installed, the addon appears in Google Sheets under Extensions > Uncanny Automator Webhook Addon.
Before you connect the sheet, add the column headings you will use and one row of sample data. The recipe is easier to set up when the sample already has every column, and you avoid sending half-finished rows to your site.
Add the trigger to a recipe
Data from the sheet arrives anonymously, with no WordPress user logged in, so the trigger works only in a recipe of the Everyone type. See Recipe types: logged-in users and everyone.
- In your WordPress dashboard, go to Automator > Add new recipe, select Everyone, and click Confirm.
- Click Add trigger. In the picker, search for Sheets Web App, select Google Sheets Web App, and select Receive data from Google Sheets Web App.
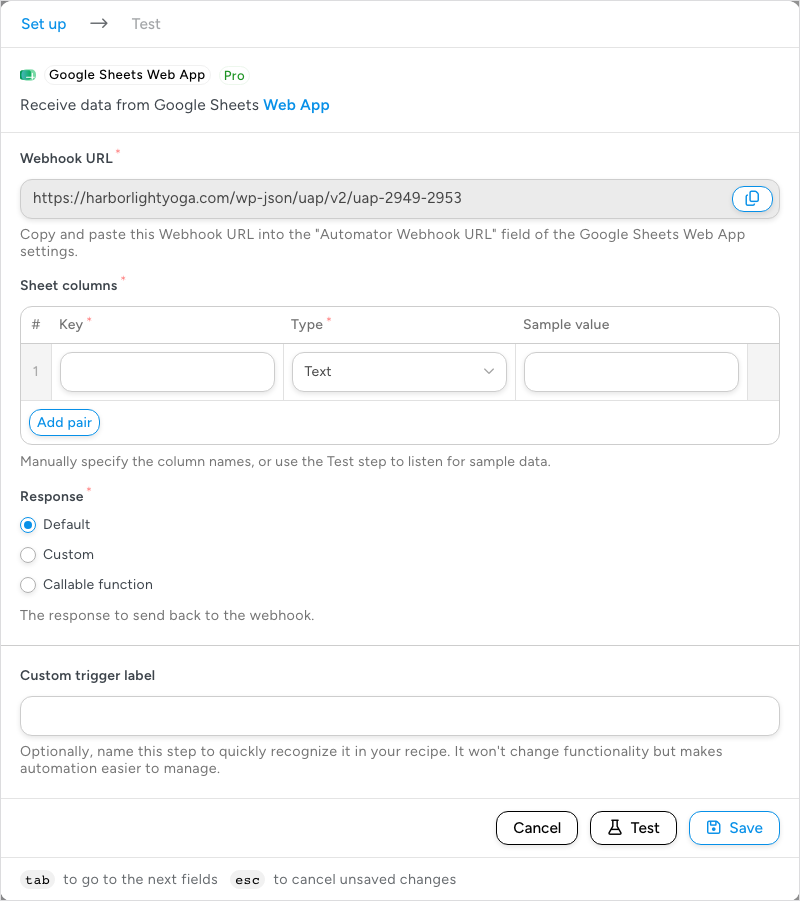
- In the Set up step, copy the Webhook URL with the copy button beside it. The Response options below the Sheet columns table set what your site sends back to the addon after each update. The addon does not read the response, so you can leave Default selected.
Send the sheet’s updates to the webhook URL
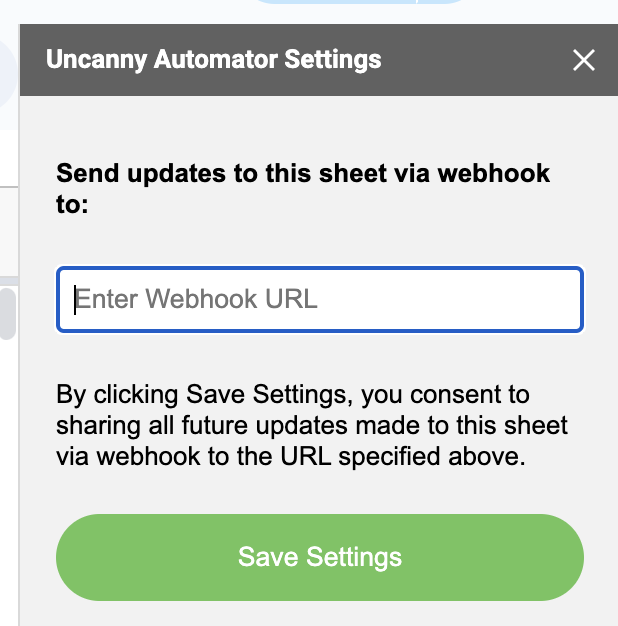
- In Google Sheets, go to Extensions > Uncanny Automator Webhook Addon > Automator Webhook URL.
- Paste the URL into the Enter Webhook URL field.
- Click Save Settings. From now on, updates to this sheet are sent to the webhook URL.
Capture a sample row with the Test step
The Sheet columns table in Set up lists the columns the sheet sends, and each row becomes a token. The trigger’s Test step, which replaces the Get row button of earlier versions, listens for a real update from the sheet, shows the keys it received, and can fill the table with them.
- Keep the recipe switched off (Recipe off in the top bar). The test listens only while the recipe is off.
- Back in the recipe, leave Sheet columns empty for now: the test fills it in step 6. The trigger can’t be saved while the table is empty, but Test opens the Test step without it.
- Click Test, then Listen for webhook. The test listens for one minute; a countdown shows the time remaining.
- Switch to the sheet, change the value in a cell, and click another cell to move the focus away. The sheet sends the update when the cell loses focus.
- Return to the recipe. When the update arrives, the test shows Test passed and “A webhook was received!” with a Key and Value table of the row’s columns.
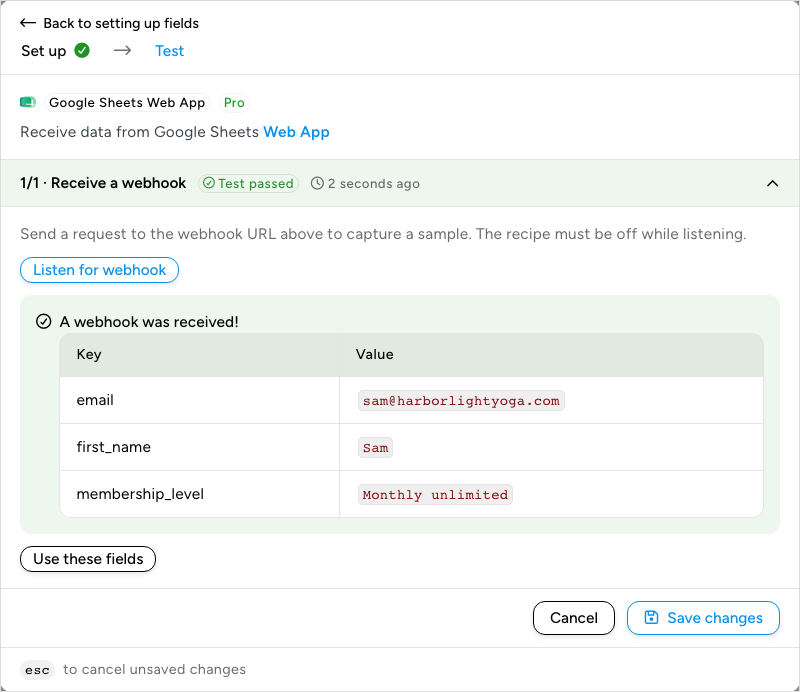
- Click Use these fields and confirm with Use these fields (“This will remove your current fields and use the ones in the table above instead.”). The builder returns to the Set up step with one row in Sheet columns for each column received, with its type and value. Only the columns listed there become the trigger’s tokens, so delete the rows you do not need, check each Type, and click Save.
You only need rows for the columns you plan to use. You can also fill the table without testing: click Add pair for each column and enter its Key, Type, and an optional Sample value. Testing triggers and actions explains the Test step in general.
Add the actions that should use the sheet’s data, inserting the column tokens with the ∗ button at the end of each field. When the recipe is ready, switch it on with the Recipe on switch.
Things to know
- Only manual edits are sent. Google Sheets sends an update when someone changes a value by hand and moves the focus away from the cell. Changes made by formulas or other automatic updates do not send anything.
- Expect a lot of webhooks. The sheet sends data for every update, and each one includes every column in the row, so your logs may show more incoming data than you expect. This is how Google Sheets reports updates.
- The addon works with any webhook URL. It is not limited to Automator; you can point it at another service’s webhook if you need to.
Related: Incoming webhook triggers, Testing triggers and actions, Recipes for Everyone, Google Sheets

Comments (0)