

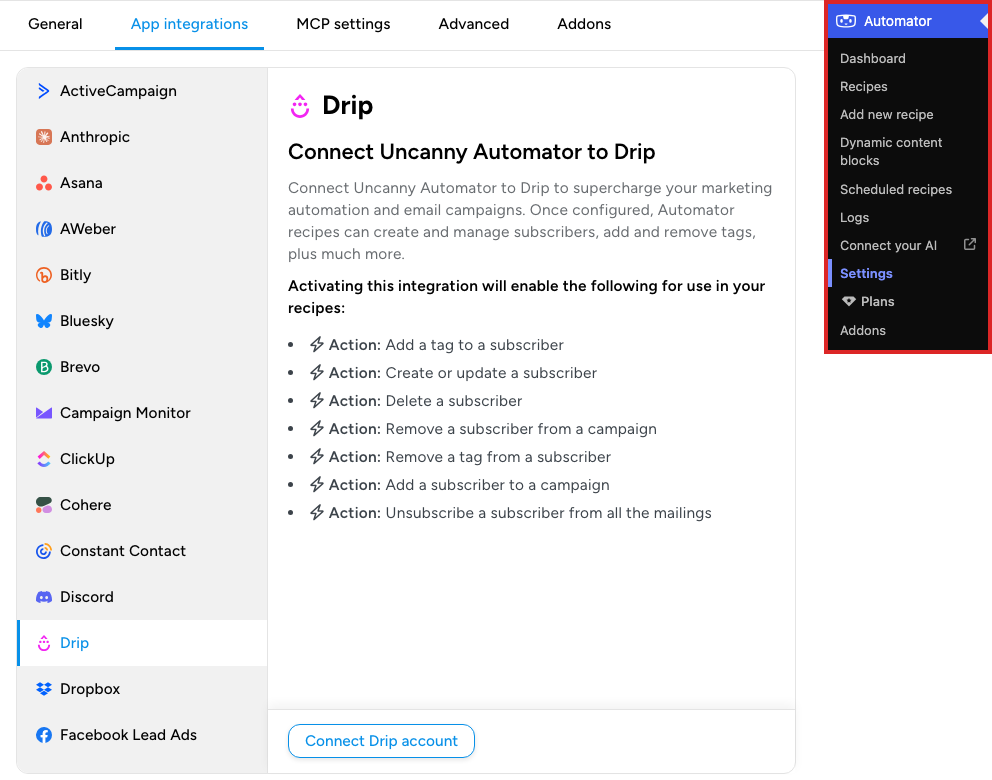
Drip is a CRM and marketing automation platform. Connecting it to Uncanny Automator lets a recipe keep your Drip subscribers in step with activity on your WordPress site: create or update a subscriber when someone registers, tag them when they buy, or add them to a campaign when they finish a course. This article covers connecting your Drip account and adding a Drip action to a recipe.
If you have Uncanny Automator Lite, you’ll first need to connect your site to a free Uncanny Automator account, which gives you app credits to use with Drip. On a paid plan, app integrations are included.
Once connected, these actions appear under Drip in the recipe builder:
- Create or update a subscriber
- Add a tag to a subscriber
- Remove a tag from a subscriber
- Add a subscriber to a campaign
- Remove a subscriber from a campaign
- Unsubscribe a subscriber from all the mailings
- Delete a subscriber
Connect your site to Drip
- In your WordPress dashboard, go to Automator > Settings > App integrations and select Drip in the list.
- Click Connect Drip account. Drip opens in the same browser tab, and you return to your site when you finish.
- If you are not signed in to Drip, sign in now.
- Drip shows an authorization page asking you to grant access to Uncanny Automator. Choose the associated application and click Authorize.
- Drip returns you to the Drip settings page in your site, which now shows the connected account.
Uncanny Automator connects to one Drip account at a time, and it must be an account you have read and write access to. Until an account is connected, the recipe builder’s picker hides Drip while its Ready-to-use only switch is on; see Finding integrations in the recipe builder.
Add a Drip action to a recipe
- Open the recipe at Automator > Recipes, or create one from Automator > Add new recipe, and add its trigger; see Creating a recipe.
- Click the + at the end of the flow. In the picker, search for Drip and select it.
- Choose the action, for example Create or update a subscriber.
- In the Set up step, enter the subscriber’s Email. To use the address of the person who triggered the recipe, click the ∗ button at the end of the field and insert an email token.
- Fill in the action’s other fields. Tag and Campaign list the tags and campaigns in your connected Drip account. For Create or update a subscriber, click Add field under Fields once for each Drip field to set, then choose the Field (First name, Last name, Phone, and Drip’s other standard fields) and enter its Value.
- Click Save.
Switch Recipe on in the top bar and the recipe updates Drip each time its triggers complete. Create or update a subscriber also returns a Drip subscriber ID token that later actions in the recipe can use.
Related: Finding integrations in the recipe builder, Managing actions, What are app credits?

Comments (0)