

ActiveCampaign triggers run a recipe when you add a tag to a contact in ActiveCampaign, or remove one, so a tag can enroll a user in a course, add them to a group, or change anything else about them on your WordPress site. This article covers enabling the triggers, adding the webhook ActiveCampaign uses to send tag changes to your site, and using the triggers in a recipe.
If you have Uncanny Automator Lite, you’ll first need to connect your site to a free Uncanny Automator account, which gives you app credits to use with ActiveCampaign. On a paid plan, app integrations are included.
Enable ActiveCampaign triggers
- Connect your ActiveCampaign account with your API URL and key, as described in ActiveCampaign actions.
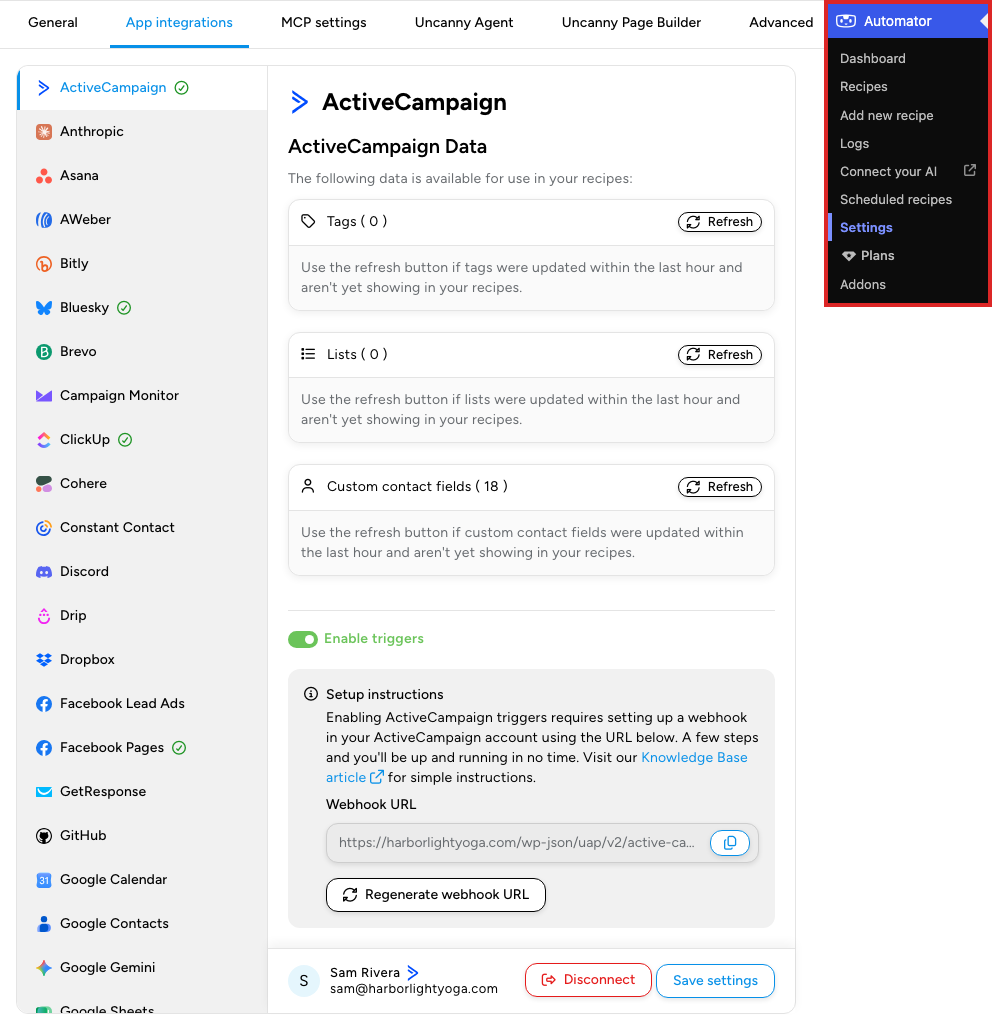
- In your WordPress dashboard, go to Automator > Settings > App integrations > ActiveCampaign and turn on Enable triggers. The Webhook URL appears in the Setup instructions box below the switch, with a copy button inside the field.
- In a new browser tab, log in to ActiveCampaign and go to Settings > Developer.
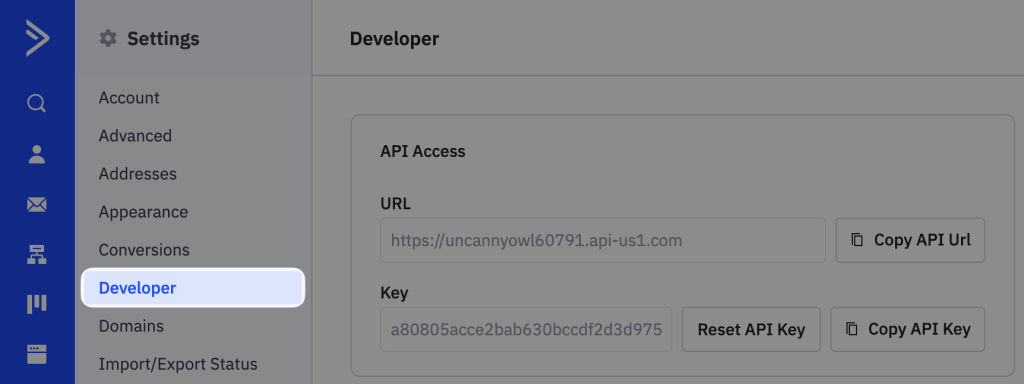
- Click Manage Webhooks.

- Click Add a webhook.

- Select the webhook type. Standard is the right choice in most cases.

- Enter a Name for the webhook, such as Automator. Copy the Webhook URL from Automator and paste it into the URL field.
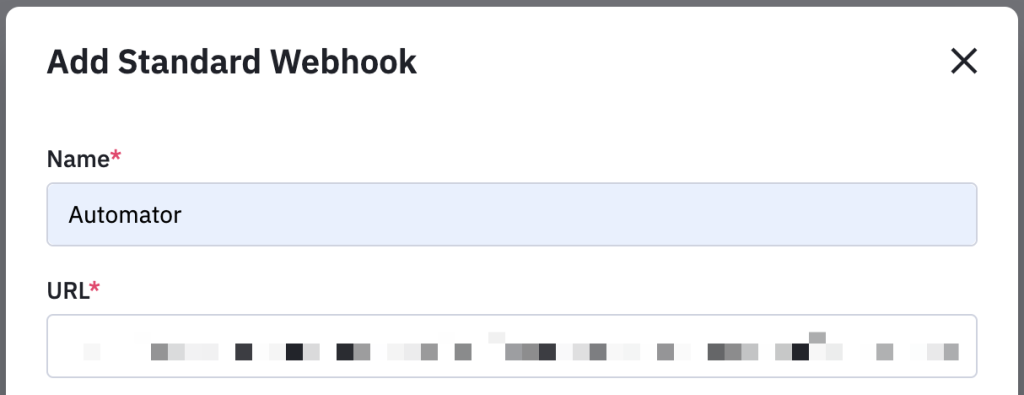
- Under List, select the lists this webhook covers. All Lists is selected by default.
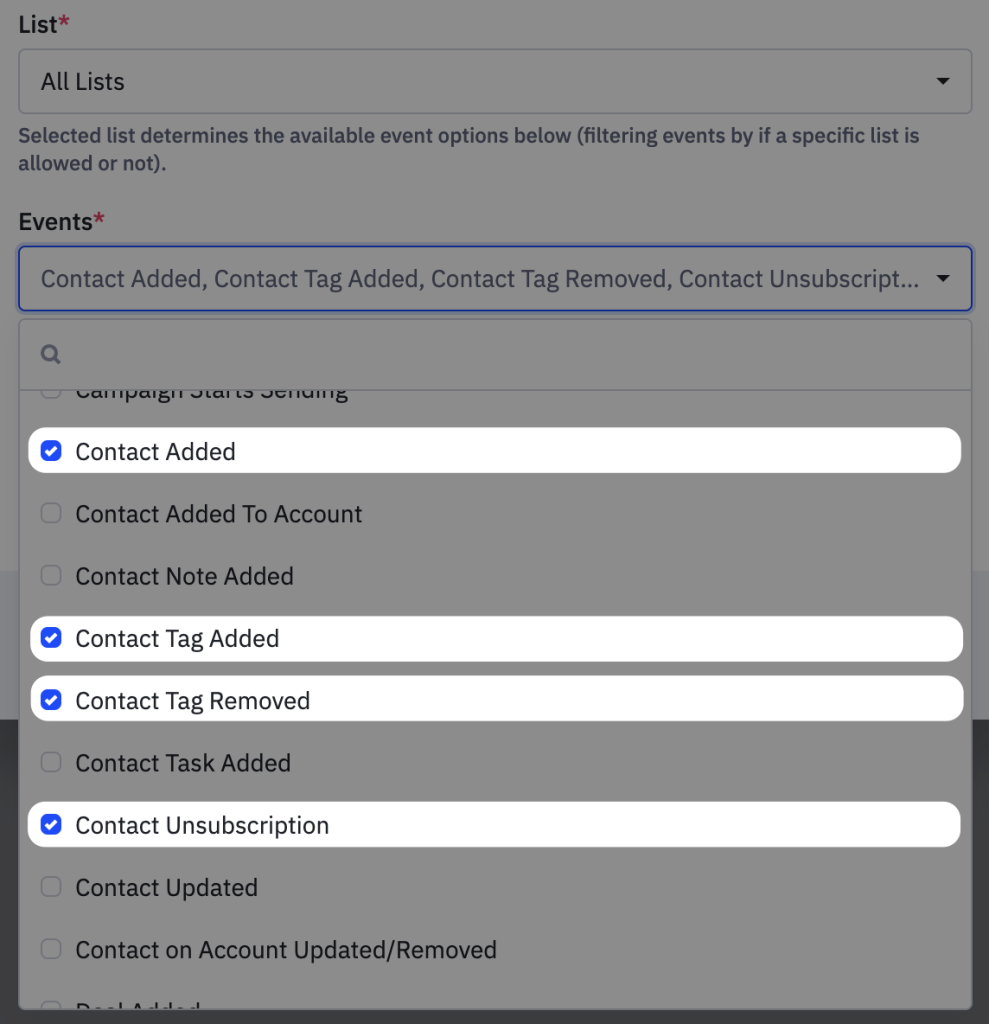
- Under Events, select the ActiveCampaign events that should call the webhook. Automator’s triggers use Contact Tag Added and Contact Tag Removed; events Automator has no trigger for are ignored.
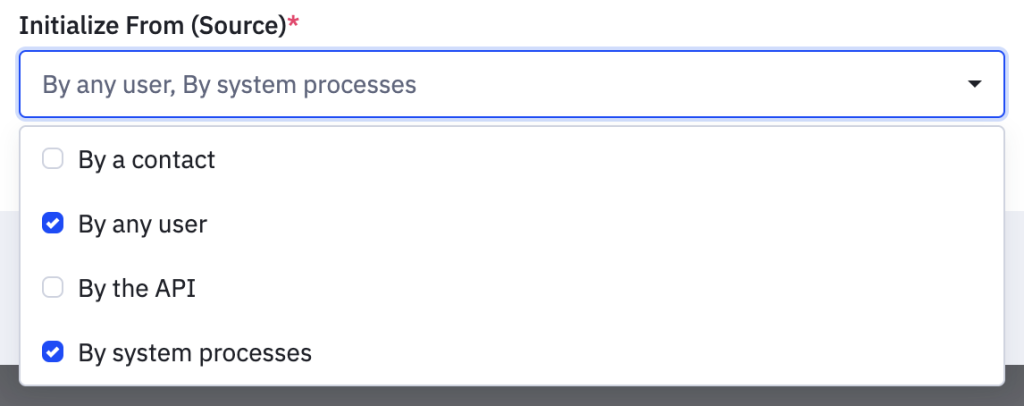
- Under Initialize From (Source), select where the change can come from. By any user and By system processes cover most cases.
- Click Save in ActiveCampaign.
- Return to Automator and click Save settings.
The ActiveCampaign triggers now appear in the recipe builder; they stay hidden while Enable triggers is off. If you click Regenerate webhook URL in Automator later, the triggers stop working until you paste the new URL into the ActiveCampaign webhook.
Using ActiveCampaign triggers
The triggers start from ActiveCampaign, not from a visitor logged in to your site, so they work only in recipes of the Everyone type. See Recipe types: logged-in users and everyone.
- Go to Automator > Add new recipe, select Everyone, and click Confirm.
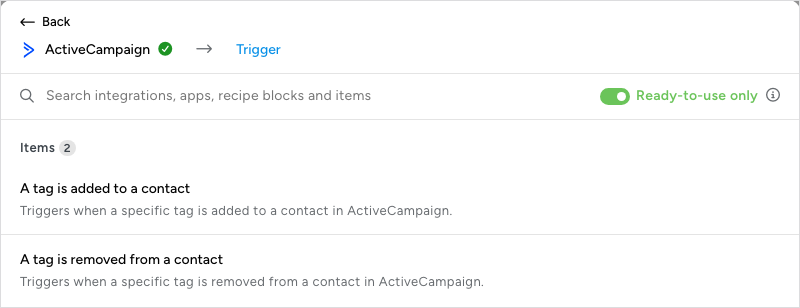
- Click Add trigger, search for ActiveCampaign, and select it. Choose A tag is added to a contact or A tag is removed from a contact.
- In the Set up step, choose the tag and click Save.
- Add the action to perform on the user, such as enrolling them in a course.
- Click the Run recipe as card and match the ActiveCampaign contact to a WordPress user: choose An existing user, set Match by to Email, and insert the contact’s email token as the Value. Recipes for Everyone explains the options.
- Switch the recipe on with the Recipe on switch.
From now on, adding or removing the tag on a contact in ActiveCampaign updates the matching user on your site.
Related: ActiveCampaign actions, Recipes for Everyone, Finding integrations in the recipe builder

Comments (0)