Trying to figure out which AI tools are best for WordPress site owners? See why…
How to Connect OptinMonster to WordPress: Beginner’s Tutorial
Searching for a way to connect OptinMonster to WordPress? Your search ends here.
OptinMonster is one of the most popular lead generation software on the web. It can help you to grow your email list, get more leads, and increase your sales. In short, it is useful for marketers, bloggers, small businesses, and eCommerce websites.
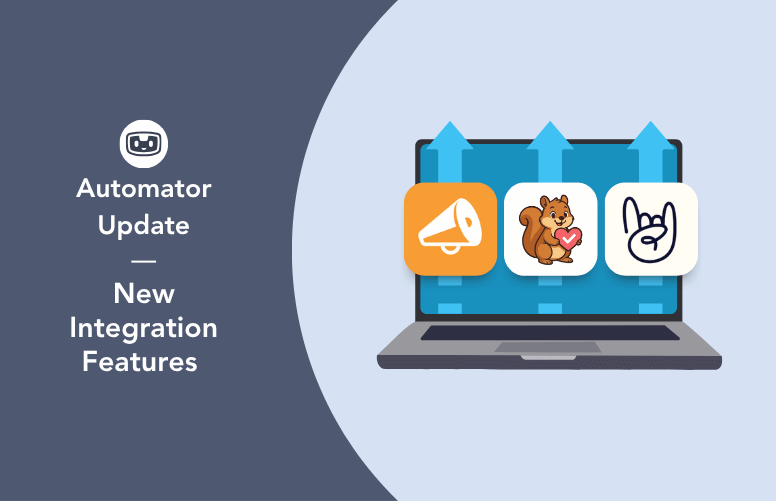
The tool that can connect OptinMonster to WordPress is Uncanny Automator. It is a no-code automation plugin that can automate various tasks by connecting WordPress plugins and 3rd-party web apps.
In this article, we’ll share the step-by-step process of connecting OptinMonster to WordPress with the help of an example – enroll a user in a LearnDash course when they submit an OptinMonster form.
Why Should You Connect OptinMonster to WordPress
As already mentioned, Uncanny Automator can help you to connect OptinMonster to your WordPress site. Note that we are not just talking about core WordPress here. You can easily connect OptinMonster to popular WordPress plugins like LearnDash, BuddyBoss, WooCommerce, and more with our automation plugin.
The concept here is pretty simple – just create a recipe in Uncanny Automator, with at least one trigger and one action, to automate different OptinMonster tasks. Here are some use cases when someone submits an OptinMonster form:
- Create a user profile in WordPress
- Add the user to a BuddyBoss or BuddyPress group
- Generate and email a WooCommerce coupon code to the user
- Add the user to (or remove the user from) a membership level via MemberPress or Restrict Content Pro
- Add contacts in your favorite CRM (Groundhogg or FluentCRM)
Uncanny Automator also offers one action for OptinMonster – show a campaign. You can easily use it to create different workflows. For example, you can show a popup with a discount code when someone purchases a product on your WooCommerce store. Or, you can display a thank you popup when someone makes a donation via GiveWP.
Uncanny Automator is not limited to WordPress only. As an added advantage, you can also connect OptinMonster to popular 3rd-party web apps like Slack, Google Sheets, HubSpot, Zoom Meetings, and more. For example, when an OptinMonster form is submitted, you can get notifications on Slack or via SMS, register users for a Zoom meeting, pass data to Google Sheets, and much more.
How to Connect OptinMonster to WordPress
In this tutorial, we’ll be showing you how to connect OptinMonster to WordPress with the help of an example – enroll a user in a LearnDash course when they submit an OptinMonster form. Here the trigger will be “someone submitting the OptinMonster form” and the action will be “enrolling the person in a LearnDash course”.
Uncanny Automator uses the power of webhooks to connect the OptinMonster trigger to core WordPress and plugins. So make sure you have an OptinMonster Pro or a higher subscription to use the Webhook integration. Also, you’ll need Uncanny Automator Pro to follow this tutorial.
Note: Uncanny Automator supports popular LMS plugins like LearnDash, LearnPress, LifterLMS, MasterStudy LMS, Tutor LMS, and WPLMS. For the sake of this tutorial, we’re using LearnDash as the LMS plugin. However, you can follow this tutorial with any LMS plugin of your choice – the steps will mostly remain the same.
Without further ado, let’s get started with the tutorial.
Step 1: Create a New Recipe
The first step is to create a new recipe in Uncanny Automator. To do that, head over to Automator -> Add new from the left sidebar of your WordPress admin panel.
Next, you’ll be asked to select a recipe type. Here you need to select Everyone as we want new users (who don’t have an account on our website) to enroll in our course.

You can also give a name to this recipe for future reference. Let’s name our recipe OptinMonster to LearnDash.
Step 2: Get the Webhook URL
Next, you’ll have to configure the trigger for the recipe. Go ahead to select OptinMonster under Select an integration:

Next, you need to select the trigger option – Receive data from OptinMonster webhook.

Uncanny Automator will now show a webhook URL. Copy this URL as we’ll be adding this webhook URL to OptinMonster in the next step. It’ll help us to pass data from our OptinMonster campaign to WordPress.

Keep this tab open in your web browser as we’ll return to this page to complete the recipe configuration process.
Step 3: Configure OptinMonster Webhook
Let’s open a new tab in our web browser and log in to our OptinMonster account. We’re assuming that you’ve already created a campaign in OptinMonster. You can check out this article on how to create a campaign in OptinMonster if you need any help.
Next, you need to connect your OptinMonster campaign to the Webhook URL. To do that, first, you should click on Integrations:

Next, you’ll have to click on the Add New Integration button to add a new webhook integration.
Now go ahead to select Webhook from the Email Provider dropdown. Selecting it will open up the Email Provider Account dropdown. And you’ll have to select Add New Account from that dropdown.

Note: You’ll have to set up a new webhook integration in OptinMonster for every Uncanny Automator recipe that uses the OptinMonster trigger.
Next, you need to add a label to the Webhook Account Label textbox. It can be anything you like as it is for internal use only.
In the URL box, you should paste the Webhook URL that you’ve copied in the previous step.

Before clicking on the Connect to Webhook button, you need to go back to the Uncanny Automator tab in your web browser and click on Get samples.

Now, return to the OptinMonster tab and click on Connect to Webhook. If the webhook test is successful, then Uncanny Automator will receive the sample data (more on that in the next step). You’ll also see a success message, confirming that OptinMonster added the new webhook integration.
You can now make the final changes to the OptinMonster campaign and publish it once you’re done.
Step 4: Set Up the Trigger
Let’s get back to the Uncanny Automator tab now. Here you’ll see a modal window having the sample data organized in key/value pairs. You need to click on Use these fields to populate the Fields section.

Finally, you need to click on the Save button to make the trigger live.
Step 5: Configure the Action
It’s time to add a new action by clicking on the Add action button.
Since we want to enroll new users in a LearnDash course, so let’s select the LearnDash integration.

Next, you’ll have to select Enroll the user in a course.

Selecting that option will open up a modal box. Since this is a recipe for everyone, the LearnDash action will need user data. So go ahead and click on Set user data.

Uncanny Automator will now ask whether you want to run this action on new or existing users. Since we want new users to enroll in our course, so you should click on New user.

Selecting that option will open up a number of fields. Let’s configure the mandatory fields – Email and Username.
In the Email field, you should click on the Asterisk icon and add the Field #1 lead/email token. This token will contain the email address of the user.

Similarly, you should also add the same email token to the Username field.

Next, you’ll have to specify what Uncanny Automator should do if a user already exists. In our case, we want new users to enroll in our course. So you can select Do nothing and click on Save.

Lastly, you need to select a course from the Course dropdown. Once done, you should click on Save to make this action live.

Step 6: Publish the Recipe
After configuring the trigger and the action, the last step is to make the recipe live. To do that, you need to change the toggle option, present in the Recipe box, from Draft to Live.
That’s it! You’ve successfully connected OptinMonster to your WordPress site. From now on, whenever someone submits the OptinMonster form, that person will be enrolled in a LearnDash course automatically.
Here’s the final recipe for connecting OptinMonster to WordPress:

Endnote
Uncanny Automator makes it really easy to connect OptinMonster to WordPress. However, this tutorial was just a starting point. You can add multiple triggers and actions to the above recipe to create a complex workflow. For example, you can get Slack notifications or pass data to Google Sheets whenever someone enrolls in your course.
So what are you waiting for? Get Uncanny Automator Pro today to automate your OptinMonster tasks. The premium version of the plugin comes with 80+ integrations and all the available triggers and actions. Also, you can use premium features like scheduled actions and action filters if you’re a pro user.
If you’ve any questions on how to connect OptinMonster to WordPress, please feel free to comment below! Also, don’t forget to share this tutorial on Facebook and Twitter.

Related Posts


Comments (0)