

The Filter block runs actions only when conditions are met: the user has a certain role, their email address is on a certain domain, a form field holds a certain value, a WooCommerce order is over a certain total. A condition is one rule the recipe checks; the Filter block holds the conditions and the actions they control. It has two paths, so you can also run different actions when the conditions are not met.
The Filter block is one of the three recipe blocks and requires Uncanny Automator Pro. The conditions available depend on the plugins and apps on your site.
Adding a Filter block
- Open the recipe from Automator > Recipes.
- Click the + at the end of the flow. To filter only part of a Loop or another block, click + Add inside that block’s path instead.
- In the picker, under Recipe blocks, click Filter.
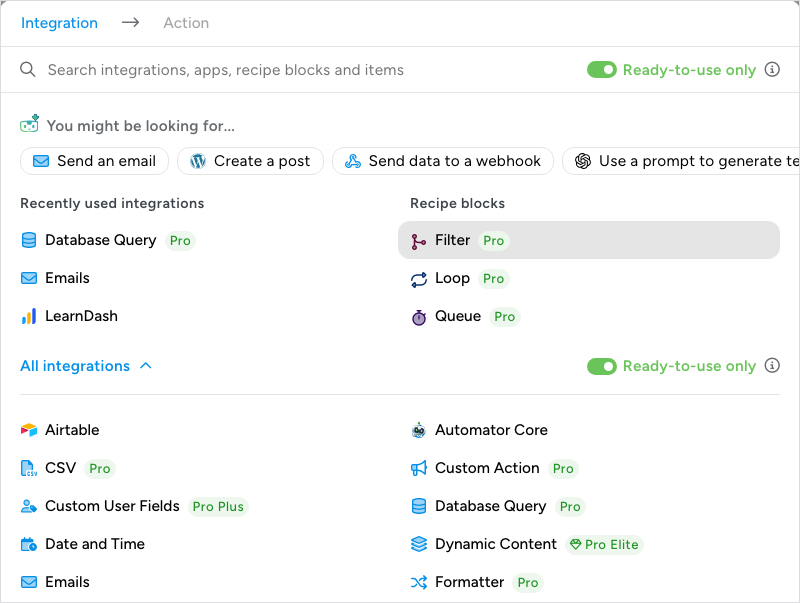
- In the Set up dialog, choose the Condition match mode. The sentence above the field updates to read Continue when any of the conditions match or Continue when all of the conditions match.
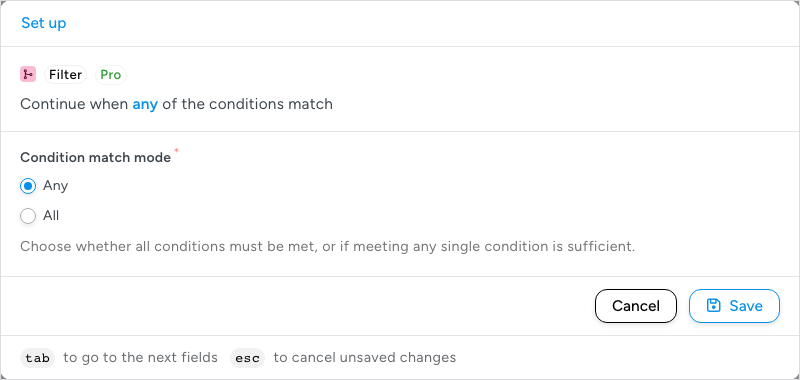
- Click Save.
Condition match mode decides how several conditions combine. Any, the default, continues down the Conditions met path as soon as one condition is true, which suits alternatives such as “the user is an Editor or an Administrator”. All requires every condition to be true, which suits a checklist such as “the user has the Subscriber role and has completed the onboarding course”. With one condition the two modes behave the same. You can change the mode later by clicking the block’s sentence.
The new block appears with No modifiers in this block, an Add modifier button, and two empty paths below it, side by side: CONDITIONS MET on the left and CONDITIONS NOT MET on the right.
Adding a condition
Conditions are the Filter block’s modifiers. Each one is added like an action, from the picker.
- Click Add modifier on the block. The picker opens on the Integration step, with the second step reading Condition. The You might be looking for row suggests conditions, such as A token meets a condition and The user’s email address matches a specific domain. Scroll the row to see more.
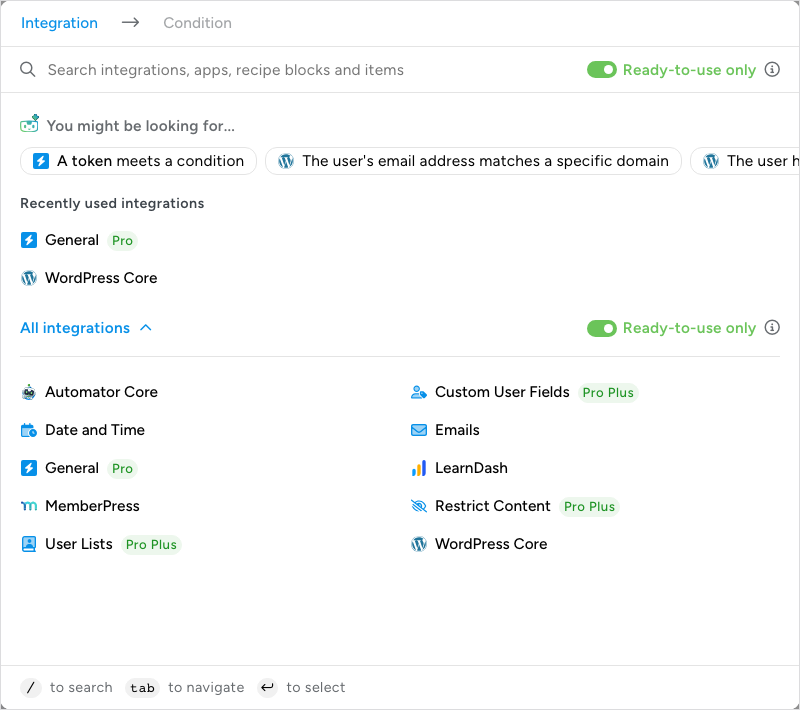
- Click an integration, then the condition you want. The picker shows only the integrations you can use right now while Ready-to-use only is on. Switch it off to see every integration with conditions; those marked Not installed or Not active need their plugin installed and active.
- In the Set up dialog, fill in the condition’s fields. The sentence at the top shows the editable part highlighted, for example The user has a specific role with a Role list below it. A Refresh options button reloads a list after you add a role, product, or course elsewhere on the site.
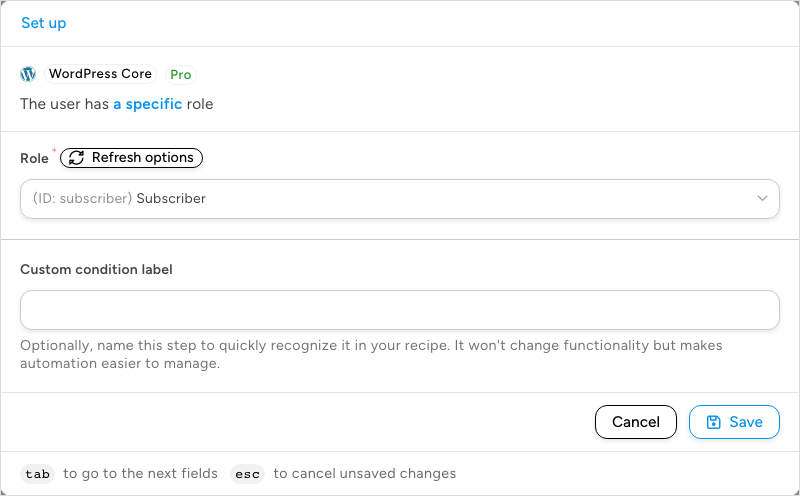
- Give the condition a Custom condition label if the default sentence will not be clear enough on the canvas. The label changes nothing about how the condition works.
- Click Save. The condition appears in the block’s modifiers area. Repeat from step 1 to add more.
Most conditions are a sentence with one or two choices. The General integration’s A token meets a condition is the flexible one, and it has three parts:
- Token — the value to check: a token from the trigger (a form field, an order total, the user’s email address), a user meta token, or a date token. Insert it with the ∗ button at the end of the field.
- Criteria — how to compare: is, is not, contains, does not contain, is greater than, is greater than or equal to, is less than, is less than or equal to, starts with, does not start with, ends with, or does not end with.
- Value — what to compare against. Type it in, or insert another token.
Text comparisons are not case sensitive: “Gold” matches “gold”. Numeric criteria such as is greater than compare the two values as numbers.
The two paths
Each path is a place for actions. When the block runs, exactly one path runs.
- CONDITIONS MET — the actions that run when the conditions pass, under the match mode you chose. On the canvas it is the left-hand path.
- CONDITIONS NOT MET — the actions that run when the conditions fail. Use it for the alternative: a different email, a note to the admin, a tag that marks the user for follow-up. On the canvas it is the right-hand path. It can stay empty, in which case a failed check runs nothing in the block and the recipe carries on below it.
To add an action to a path, click the path’s + Add button and pick the action as you would anywhere else. To move an existing action into a path, drag it by its drag handle (the grip of six dots at the left of the node) into the path. The drop line appears only where the action is allowed. Actions inside a path are ordinary actions with their own On and Off switch, Set up and Test steps, and tokens.
Note: Two actions of the same kind look alike on the canvas, because a card shows the action sentence and not its settings. Fill in Custom action label at the bottom of each action’s Set up step (for example, the email subject) and the card shows that label as its title.
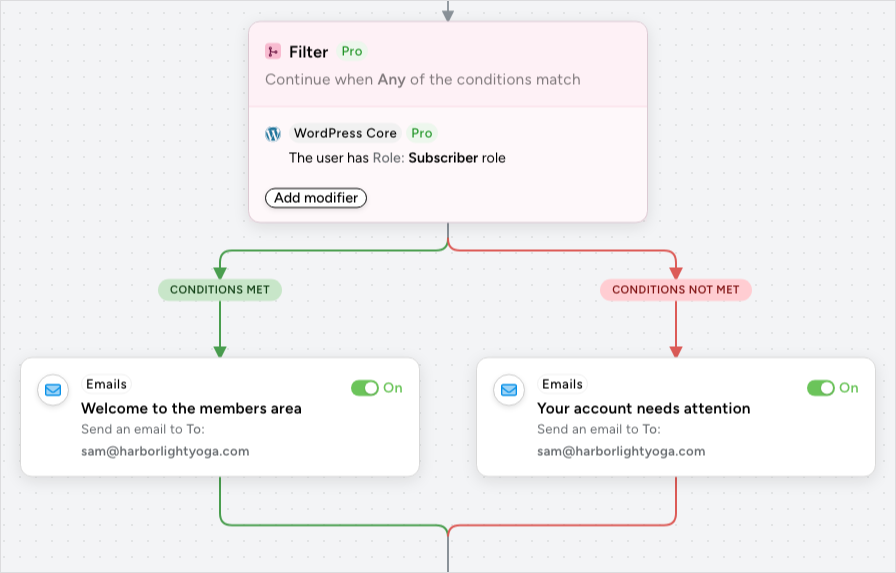
The two paths rejoin below the block. Actions placed after the block, below that point, run whatever the conditions decide. Put an action inside a path only when it should depend on the conditions.
What happens when the recipe runs
When the flow reaches the Filter block, Automator checks the conditions in the block under the match mode and runs one path:
- Conditions pass: the Conditions met path runs, then the rest of the recipe.
- Conditions fail: the Conditions not met path runs, then the rest of the recipe.
- No conditions in the block: the Conditions met path runs.
- A condition cannot be evaluated (for example, a token it depends on is empty or the plugin that provides the condition is deactivated): the block treats it as not met and runs the Conditions not met path. When a condition stops with an error, the run log shows it on the Filter block: click View details on the block, and its Notes row reads “The conditions could not be checked, so this block took its Conditions not met path:” followed by the error.
In Automator > Logs, a condition that fails writes a message saying which value was compared with what, so you can see why a user went down one path rather than the other. Actions in the path that did not run are recorded with the status Skipped, not as failed. The Using Automator logs article explains the log tabs.
Two things from the old builder still hold. The order of conditions in the block does not change the result. And a Filter block is checked at the moment the flow reaches it, so a Filter block placed inside a Queue block is evaluated when the wait ends, while a Queue block placed inside a Filter path is only queued if the conditions passed at the time the recipe ran.
Common condition sources
Which integrations appear on the Condition step depends on the plugins and apps on your site. These are the most used:
- General — A token meets a condition, described above. It works with any token, so it covers form fields, order values, dates, and user meta.
- WordPress Core — the user’s role (The user has a specific role, The user does not have a specific role), the user’s email domain (The user’s email address matches a specific domain), whether a user with an email address or username exists on the site, user and post meta (whether a meta key exists for the user or a post, and whether a user meta value meets a condition), post status, author, featured image, taxonomy term, comment count, and password protection, and whether the current date and time or an option value meets a condition.
- Date and Time — eight conditions on the current date and time, such as The date is between a specific date and a specific date, The time is between a specific time and a specific time, and The day is a specific day of the week, for recipes that should behave differently out of hours or during a campaign.
- Emails — An email address ends with a domain and An email address does not end with a domain, for any address in a token.
- Automator Core — The user has completed the recipe and A user has a recipe in a status, to make one recipe depend on another.
- LearnDash — enrollment and progress: The user is enrolled in a course (and is not), The user has completed a course, lesson, topic, or quiz (and has not), The user has passed a quiz or failed it, The user is a member of a group (and is not, with or without its child groups), group leader and course instructor checks, certificate earned, prerequisites met, and assignment submitted.
- WooCommerce — purchases and subscriptions, such as The user has purchased a specific product, The user has/has not purchased a product in the past number of days, and The user has an active subscription to a specific product, plus conditions on billing and shipping details and on order status.
- MemberPress, Paid Memberships Pro, WooCommerce Memberships, WishList Member, Restrict Content, and other membership plugins: whether the user holds a membership or access level.
- Many more: WordPress Multisite, BuddyBoss, GamiPress, FluentCRM, Groundhogg, LifterLMS, Easy Digital Downloads, The Events Calendar, Thrive Apprentice, and others. Open the Condition step of the picker with Ready-to-use only switched off to see the full list for your site.
For developers
Two filters adjust A token meets a condition. automator_pro_wp_token_meets_condition_case_sensitive returns false by default; return true to make text comparisons case sensitive. automator_pro_wp_token_meets_condition_criteria_options receives the array of Criteria options and lets you add or remove comparisons.
Related: Recipe blocks: Filter, Queue and Loop, Queue block: delaying and scheduling actions, Loop block: users, posts and tokens, Managing tokens, Using Automator logs

Comments (0)