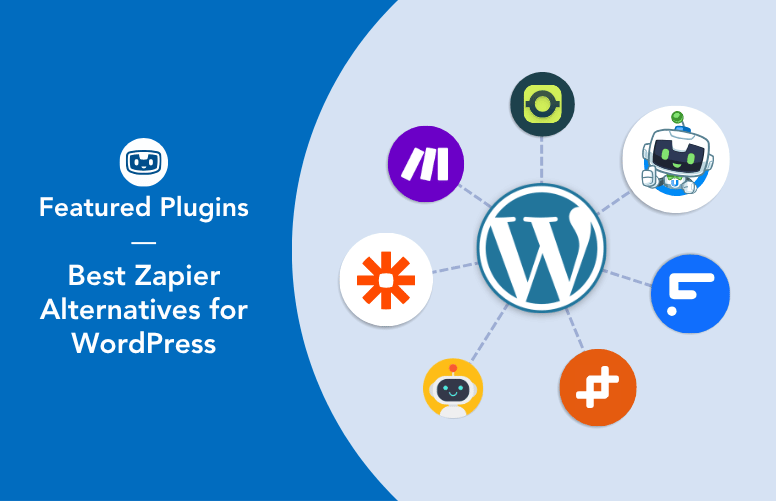
Looking for the best Zapier alternatives? We compare 8 top automation tools on pricing, integrations…
Automate BuddyBoss Group Memberships with WordPress Role Changes
Automatically add/remove WordPress users from BuddyBoss groups with the #1 automation and integration tool—Uncanny Automator.

Welcome, WordPress buddies! Are you looking for a way to automate BuddyBoss group memberships? Well, look no further—a buddy in need is a buddy indeed!
In this informative guide, we’ll walk you through the process of how to automatically add and/or remove users from BuddyBoss groups based on their role changes in WordPress. With this streamlined workflow, you can better manage your BuddyBoss group memberships, giving you more time for the things that matter—like socializing!
Introduction
“Managing your WordPress users and BuddyBoss groups shouldn’t be a laborious task—and with Uncanny Automator, it doesn’t have to be. Integrating WordPress user role changes with BuddyBoss groups will empower you to work smarter, not harder.”
- Why should you integrate WordPress user roles with BuddyBoss groups? If you frequently adjust user roles in WordPress and need these changes to be reflected in BuddyBoss groups automatically, this how-to guide will be indispensable to you. It’s a simpler way to manage your BuddyBoss members and help them find the right groups.
- Who is this guide for? Anyone managing a WordPress website with BuddyBoss integrations will find great value in this article. The process is simple enough for beginners, yet robust enough for advanced users.
In the next sections, we’ll dive into the step-by-step instructions for implementing this game-changing automation. Now, let’s put our heads together and our fingers to the mouse. You’re just a few scrolls and clicks away from a better BuddyBoss groups experience.
What You’ll Need
Before we start creating some amazing integrations, we’ll need a few plugins. First, we’ll need Uncanny Automator—a game-changing plugin for any WordPress website. Next, we’ll need BuddyBoss; a fantastic tool that lets you create your very own social network on WordPress.
Uncanny Automator
When it comes to WordPress automation and integration, there is only one buddy that you’ll ever need: Uncanny Automator! As the #1 integration and automation tool for WordPress websites, Automator allows you to connect all of your favorite apps and plugins with just a few clicks.
Create powerful time-saving automations that reduce your overhead costs, streamline your workflows and improve your site performance and user experience. For BuddyBoss users, Automator comes equipped with dozens of triggers and actions and endless combinations.

We’ll be using both Automator Pro and Free features throughout this article. While you can definitely follow along with the free version of Automator, we highly recommend unleashing the full power of this integration with Automator Pro.
Get started with Automator Pro today with a 14-day money back guarantee. You’ll be saving so much time though that you’ll never want to stop automating!
BuddyBoss
Ever wanted to have your very own social network? Look no further than BuddyBoss. Easily create and manage your very own WordPress community where you can engage with your site visitors and registered members.

Allow users to create and update their profiles, befriend each other, create activity streams and blogs and even participate in forums. Of course, socializing is always best in groups and BuddyBoss allows your WordPress site members to create and form their own social groups.
Get BuddyBoss now and follow this guide to help your site members find the right groups.
Automatically Add Users to BuddyBoss Groups
Now that you have everything you need, it’s time to start managing your groups!

Automator works using recipes—combinations of triggers and actions that automate workflows across apps and plugins. In the next steps, we’ll show you how to recreate the recipe pictured above to automatically add users to a BuddyBoss group when their WordPress role changes.
Step 1: Create a New Recipe
From your WordPress Admin Sidebar, navigate to Automator > Add New. A pop-up window will appear where you can select your recipe type; either Logged-in users or Everyone. Seeing as though this recipe deals only with BuddyBoss members, select Logged-in users.

Step 2: Name Your Recipe
Give your recipe a name that makes it easy to recognize at a glance. For example, we’ve named this recipe Automate BuddyBoss Group Memberships: Instructor Group.
Step 3: Configure Your Trigger(s)
In the Triggers panel, from the menu of available integrations, click on WordPress.

From the drop-down list that appears, select A user’s role changes to a specific role.

Automator will prompt you to select the specific role. In our example, we are automating a group for instructors. As such, we’ve selected Instructor from the drop-down list but you can select any role that suits your workflow.
Once you’ve selected a specific WordPress user role, click Save. Your action should look something like this:

Step 4: Configure Your Action(s)
In the Actions panel, click on Add action. From the menu of available integrations, click on BuddyBoss.

From the drop-down list that appears, select Add the user to a group.

Automator will prompt you to select the group to which you would like to add the user. We have a group specifically for our instructors but you can select any group that suits your workflows.
After you’ve selected the group to which you would like to add the user, click Save. Your action should look something like this:

Step 5: Grow Your Groups!
You’re just about ready to automate BuddyBoss group memberships. All that’s left for you to do is to toggle the recipe from Draft to Live.
Congratulations! With an automation like this, your BuddyBoss groups will start to fill up faster than you can say, “BuddyBoss members unite!” But what about when you want to remove users from BuddyBoss groups?
In the next section, we’ll show you to complete automating your BuddyBoss group memberships.
Automatically Remove Users From BuddyBoss Groups
In this section, we’re going to create a slightly more advanced Automator recipe with Pro features.

In the recipe pictured above, we’re able to automatically remove a user from one group and add them to another whenever their WordPress role changes. Here’s how it’s done.
Step 1: Create a New Recipe
From your WordPress Admin Sidebar, navigate to Automator > Add New. In the pop-up window that appears, select Logged-in users.
Step 2: Name Your Recipe
Following our recipe naming convention, we’ve given this recipe the title Automate BuddyBoss Group Memberships: Add and Remove Users.
Step 3: Configure Your Trigger(s)
In the Triggers panel, from the menu of available integrations, click on WordPress. From the drop-down list that appears, select A user’s role changed from a specific role to a specific role.

In our example, we are moving users from a BuddyBoss group for authors to one for editors. As such, we’ve selected the WordPress roles that correlate to our BuddyBoss groups but you can select the roles that best suit your workflows.

After you’ve selected the WordPress roles that suit your workflows, click Save. Your trigger should look something like this:

Step 4: Configure Your Action(s)
In the Actions panel, click on Add action. From the menu of available integrations, click on BuddyBoss. From the drop-down list that appears, select Remove user from a group.

Automator will prompt you to select the group from which you would like to remove the user. In our example, that’s our Author Group. After you’ve selected the group from which you would like to remove the user, click Save.
Your action should look something like this:

To add the user to their new group, repeat Step 4 from the previous recipe. Your two actions should look something like this:

Step 5: Go Live!
All you need to do now is toggle your recipe from Draft to Live and watch your WordPress users cycle through your BuddyBoss groups.
More Ways to Automate BuddyBoss Groups
Now that you’ve gotten the hang out creating Automator recipes, try creating some of your own! Automator currently has 238 integrations with more added all of the time, meaning that you connect BuddyBoss to your CRM, form-builder, sales funnel and much more.
What are some of the BuddyBoss groups automations that you want to see? Let us know in the comments section below!

Related Posts


Comments (0)