Struggling with member churn? Get started with these proven, automated membership retention strategies for WordPress…
How to Automatically Send New Blog Posts to a MailChimp List
Launch Mailchimp campaigns directly from your WordPress site. Turn new blog posts into email campaigns that drive traffic to your site.
TLDR? Here are the highlights:
Uncanny Automator lets you send new blog posts to a Mailchimp list directly from your WordPress dashboard. Here’s how:
- Install and activate Uncanny Automator Pro or Automator Lite (register account for complimentary app credits).
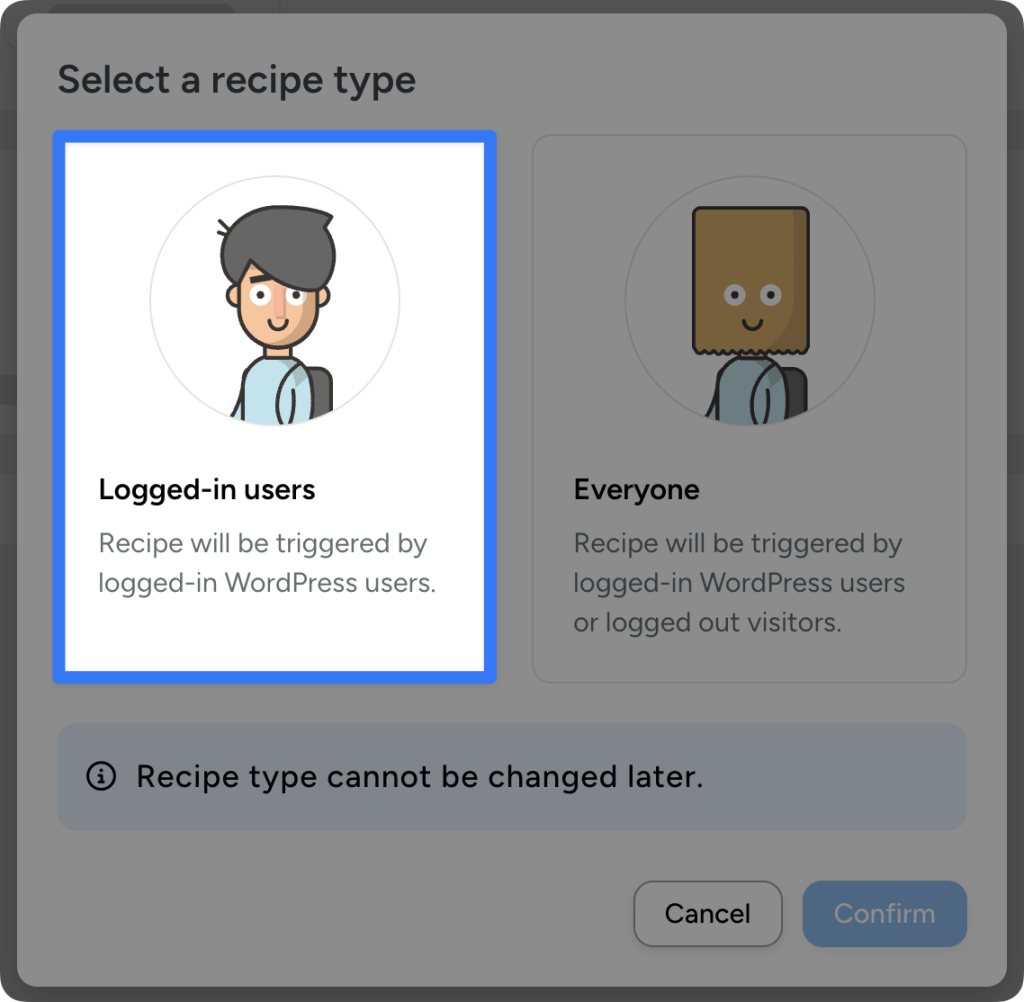
- From your WordPress Admin Dashboard, navigate to Automator > Add new recipe and select Logged-in users.
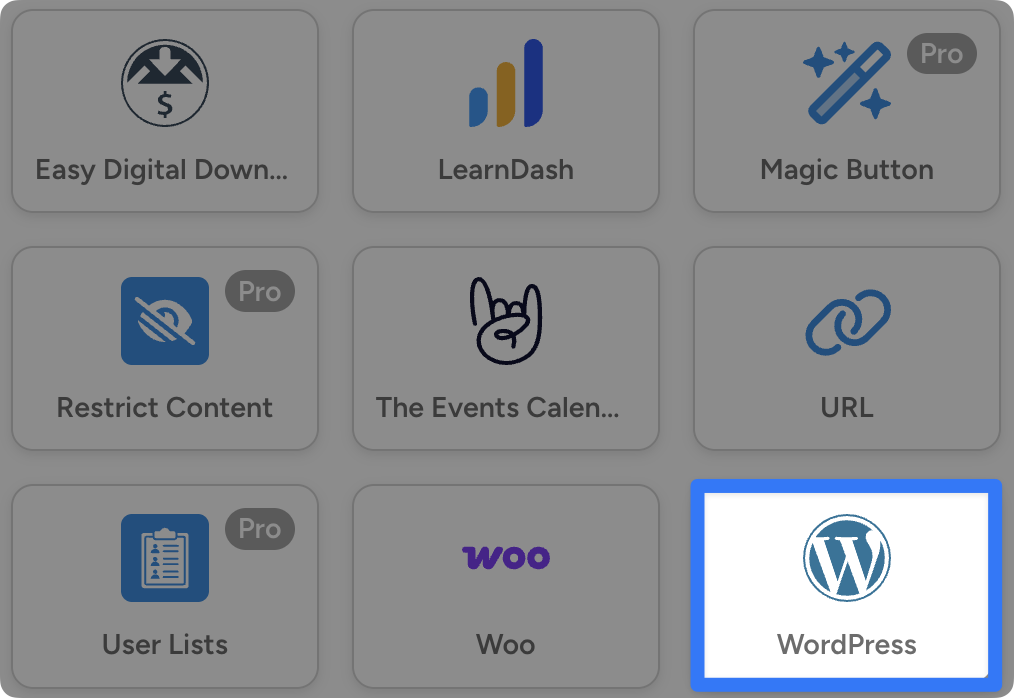
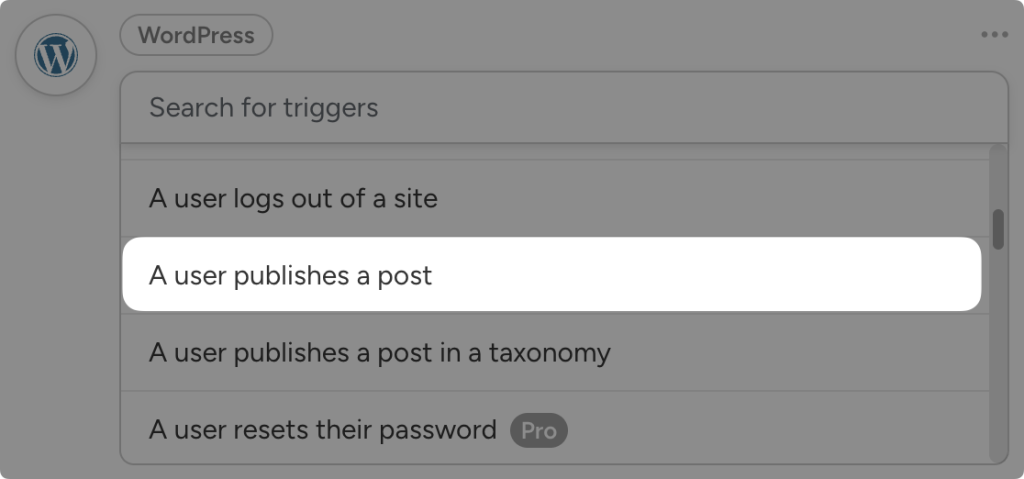
- In the Trigger panel, select WordPress > A user publishes a post.
- In the Actions panel, select Mailchimp > Create and send a campaign. (Note: You will need to connect your Mailchimp account.)
- Optional: Add delays and/or AI actions to maximize engagement.
With Uncanny Automator, you can launch Mailchimp campaigns directly from your WordPress site.
Whether you want to share your latest blog post with your mailing list or promote a new product, Automator can help.
In this article, I’m going to show you how to automatically send new blog posts to a Mailchimp list. I’ll even show you how to use AI models like ChatGPT, Claude, or Grok to turn a lengthy blog post into a must-click email campaign.
Let’s get started.
How to Send New Blog Posts to Your MailChimp List
To automate your Mailchimp newsletters and integrate Mailchimp with your WordPress site, you’ll need to install and activate Uncanny Automator.
Automator is the #1 automation and integration plugin for WordPress websites. Using simple combinations of triggers and actions, you can connect your favorite apps and plugins to automate workflows.
When it comes to automating your Mailchimp newsletters, these are the key Automator features:
- AI integrations: Use AI models such as Mistral, ChatGPT, Gemini, and others to create clickthrough-worthy emails and scroll-stopping social content from your WordPress blog posts.
- Tokens: Automator is fully integrated with your WordPress site and Mailchimp account, meaning you can use tokens to personalize emails, segment contacts, share URLs, and more.
- Schedule and Run now integration: Want to schedule an automated newsletter every Monday? Or, perhaps, you have a surprise announcement to make that you have to send out right away. Automator handles both scenarios.
In this article, I’ll be using Automator Pro. However, you can send new blog posts to your Mailchimp audience for free with Automator Lite.
If you’re using the free version of Automator, don’t forget to register your account to receive complimentary app credits. You’ll need them to connect your WordPress site to Mailchimp.
Step 1: Create and Name a New Recipe
Now that you have installed and activated Automator on your WordPress site, you can begin to automate your Mailchimp emails.
From your WordPress Admin Dashboard, navigate to Automator > Add new recipe. In the modal that appears, select Logged-in users.
Give your recipe a name that makes it easy to recognize at a glance. For example, I have named this recipe, “Automatically Send New Blog Posts to a MailChimp List”. Not exactly poetry, but it gets the job done.
Step 2: Configure Your Trigger(s)
In the Trigger panel, from the menu of available interactions, select WordPress.
From the dropdown list that appears, select “A user publishes a post”.
Automator will prompt you to select the post type. From the list, select “Post” and click Save.
Step 3: Configure Your Action(s)
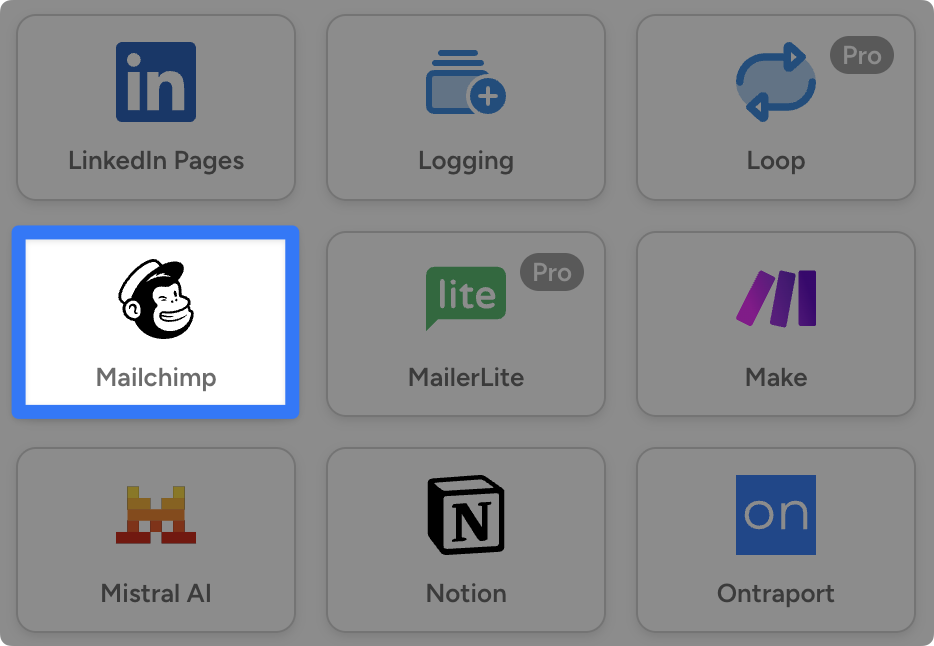
In the Actions panel, click Add action and select Mailchimp.
(Note: If you haven’t already connected your Mailchimp account, simply follow the prompts as they appear. For a detailed guide, click here. If you want to use Mailchimp triggers in the future, you can find a detailed guide here.)
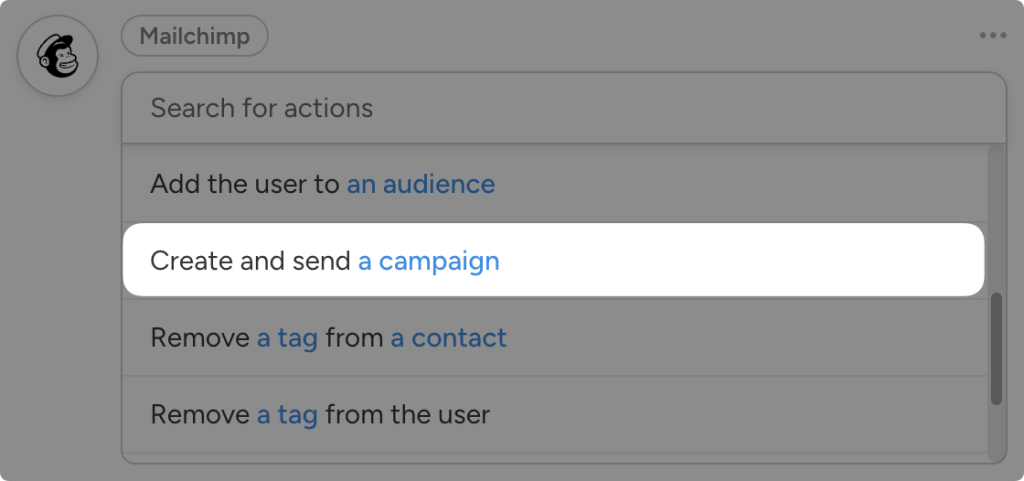
From the dropdown list that appears, select “Create and send a campaign”.
Automator will present you with a list of fields to draft your Mailchimp campaign.
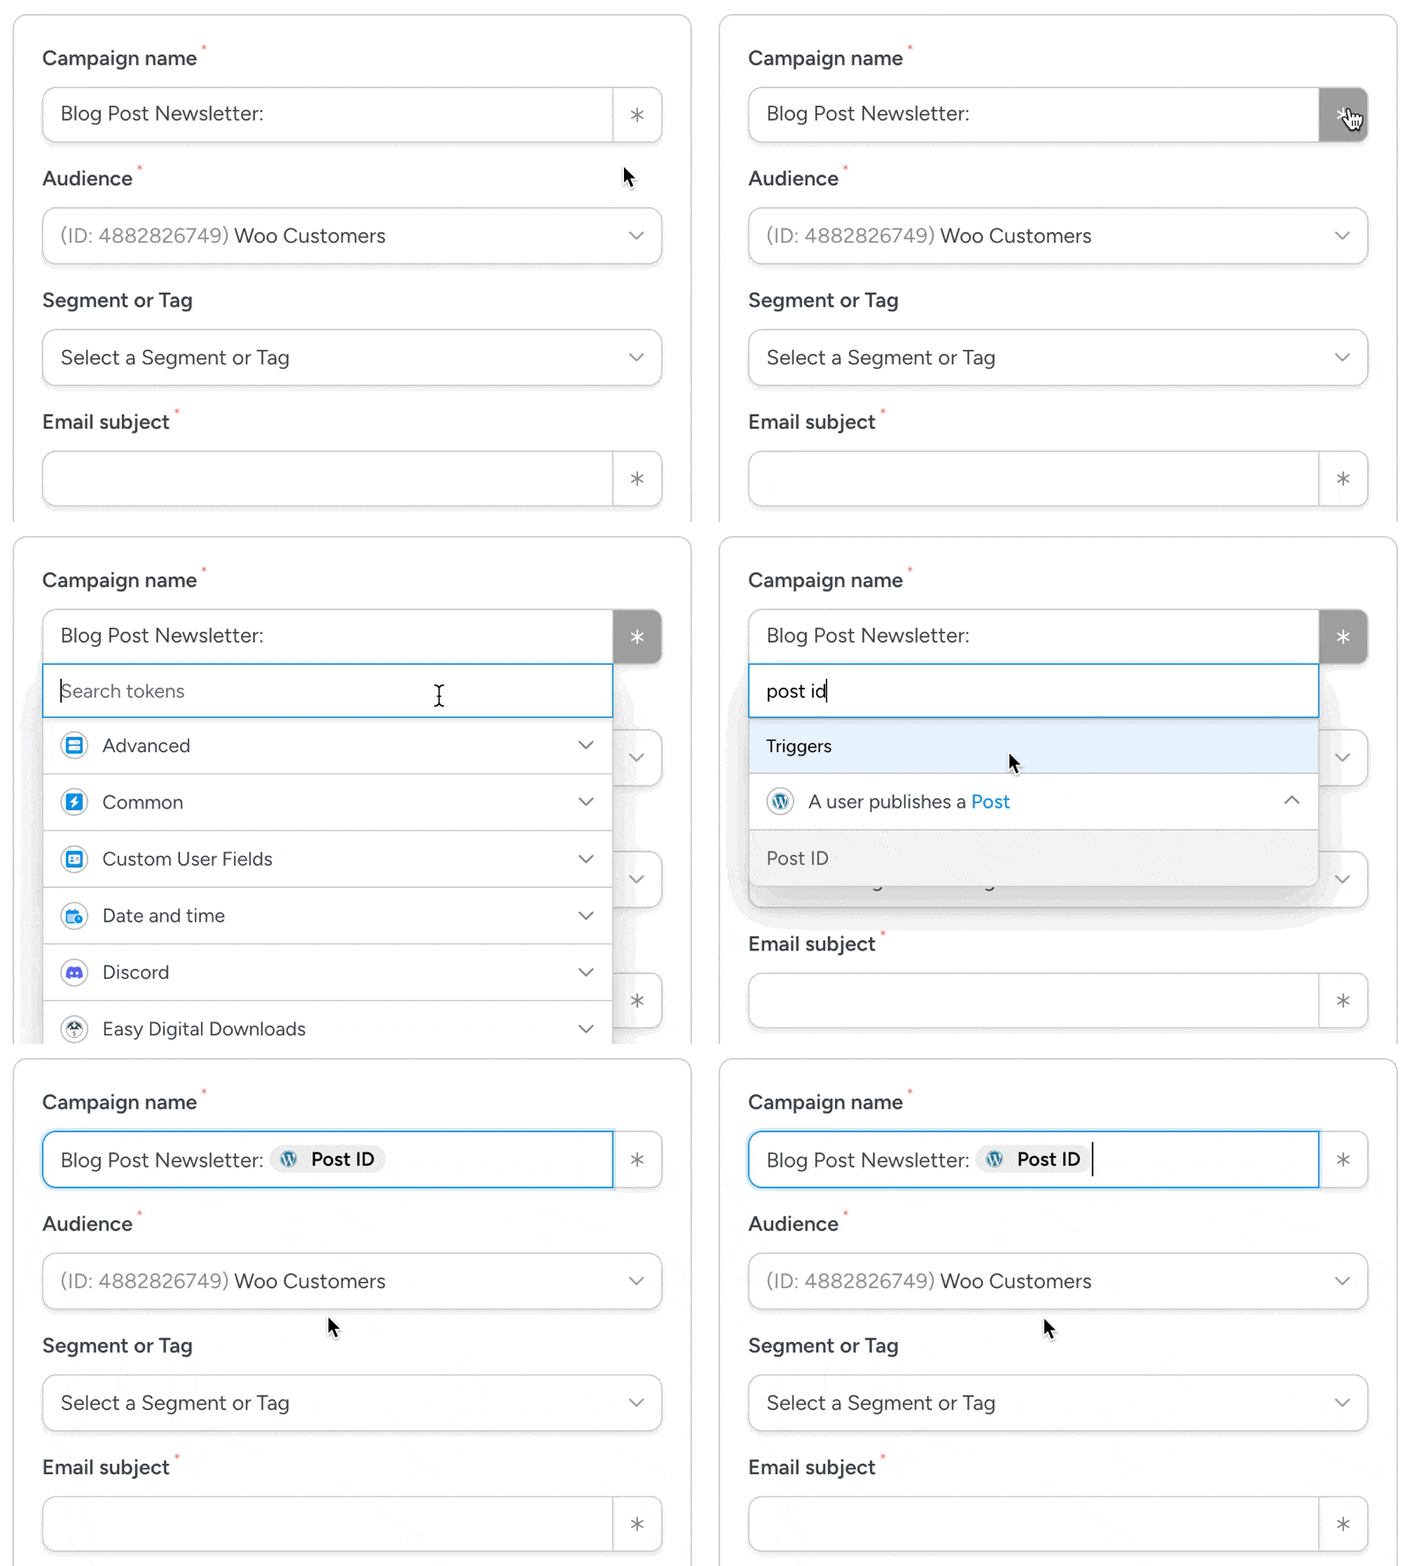
First, you need to add a Campaign name. This can be any name you like and will not be visible to your audience. For example, I have named this campaign “Blog Post Newsletter: {{Post ID}}”.
In the name, I used a token (i.e., dynamic data from my WordPress site). To use a token, click on the Asterisk in a field and select the corresponding token.
Using dynamic tokens can help you to distinguish between different campaigns. And you can then check the performance of each campaign in your MailChimp dashboard.
Next, you can select the Audience and Segment or Tag that you want to send the campaign to.
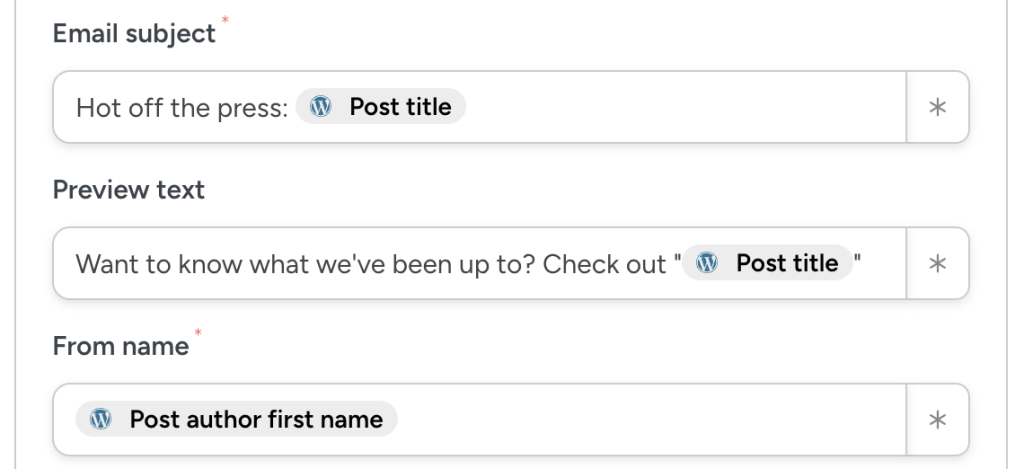
After that, it’s time to draft the Email subject and Preview text. Just as I did with the Campaign name, the subject line and preview text can be a mix of static text and tokens.
For example, my subject line is, “Hot off the press: {{Post title}}” and the preview text is, “Want to know what we’ve been up to? Check out ‘{{Post title}}’”.
Next, set the From name, From email address, To name (use the merge tags beneath the field), and select a Template.
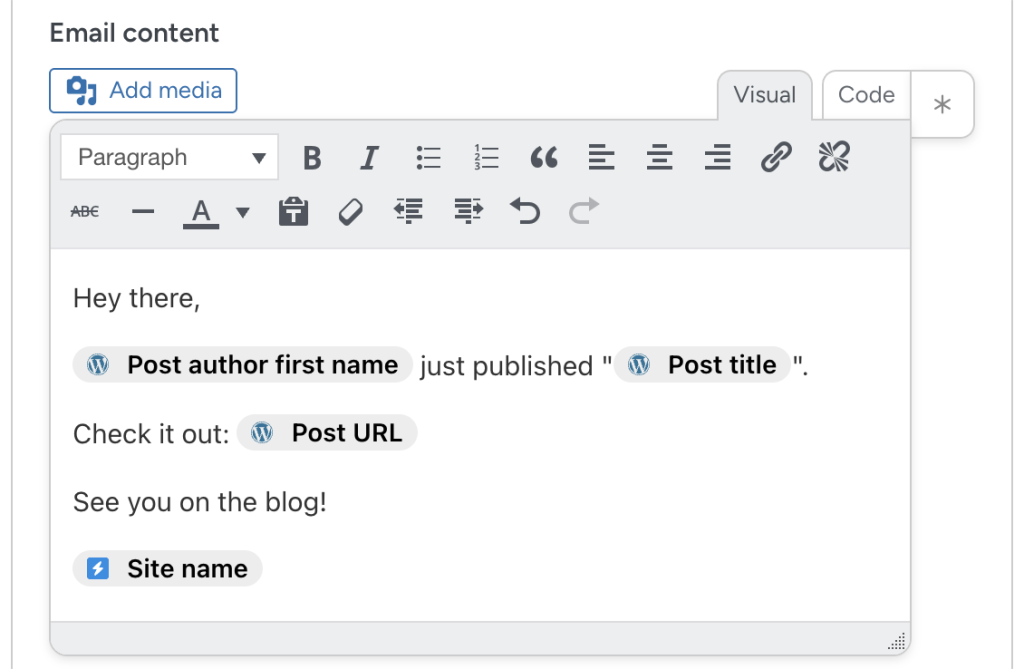
Finally, it’s time to draft your email. Make sure to include the {{Post title}} and {{Post URL}} tokens along with a compelling CTA.
Alternatively, you can include the entire blog post in your email by using the {{Post content}} token.
Once you’re satisfied with your draft, click Save.
Step 4 (Optional): Set a Delay
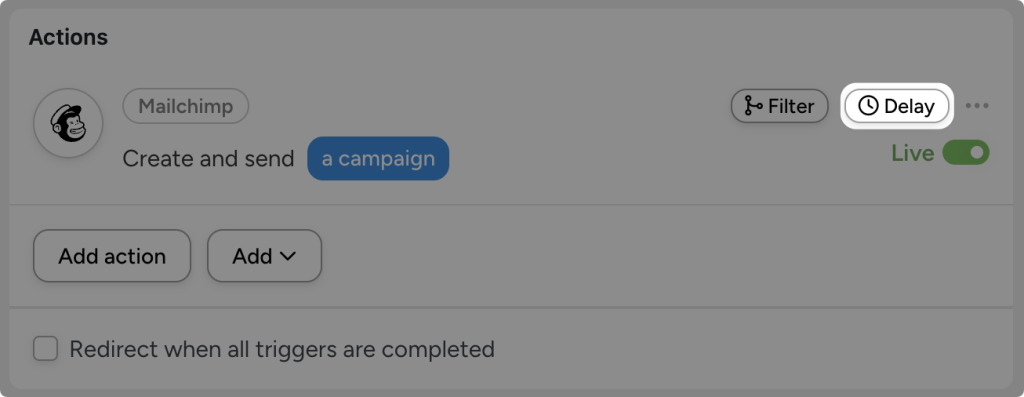
If you’re using Automator Pro, you can set a delay so that the email campaign goes out at the right time.
To set a delay, hover over the Mailchimp action and click Delay.
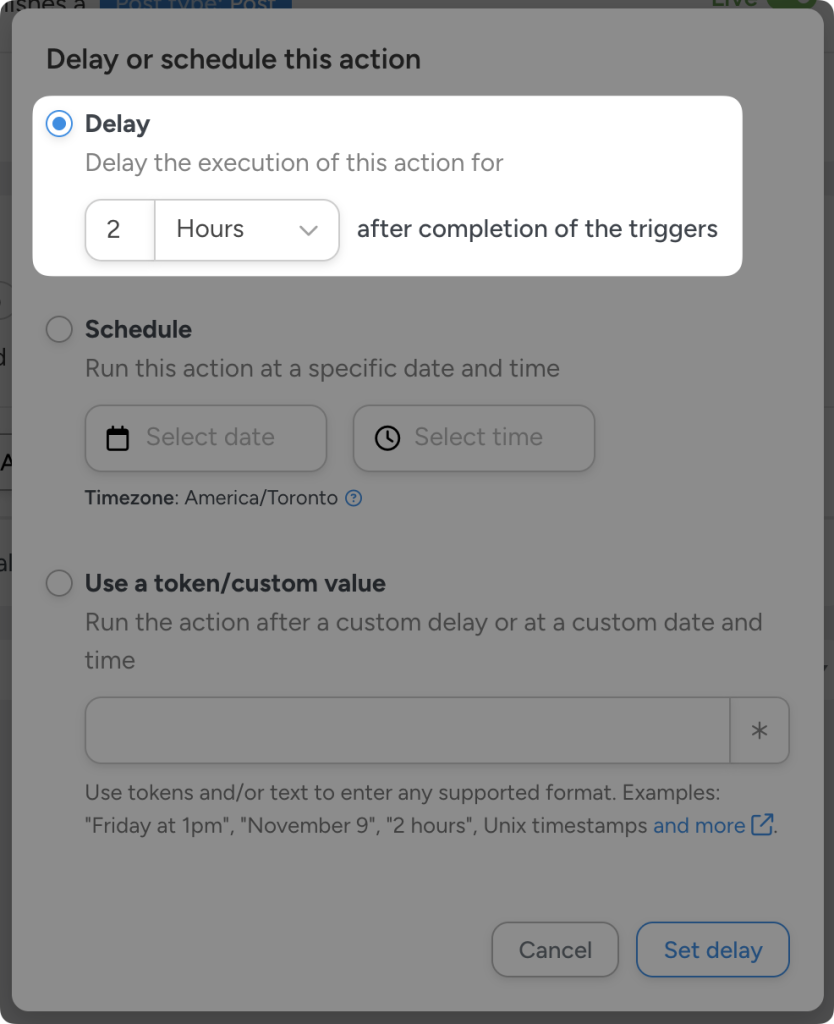
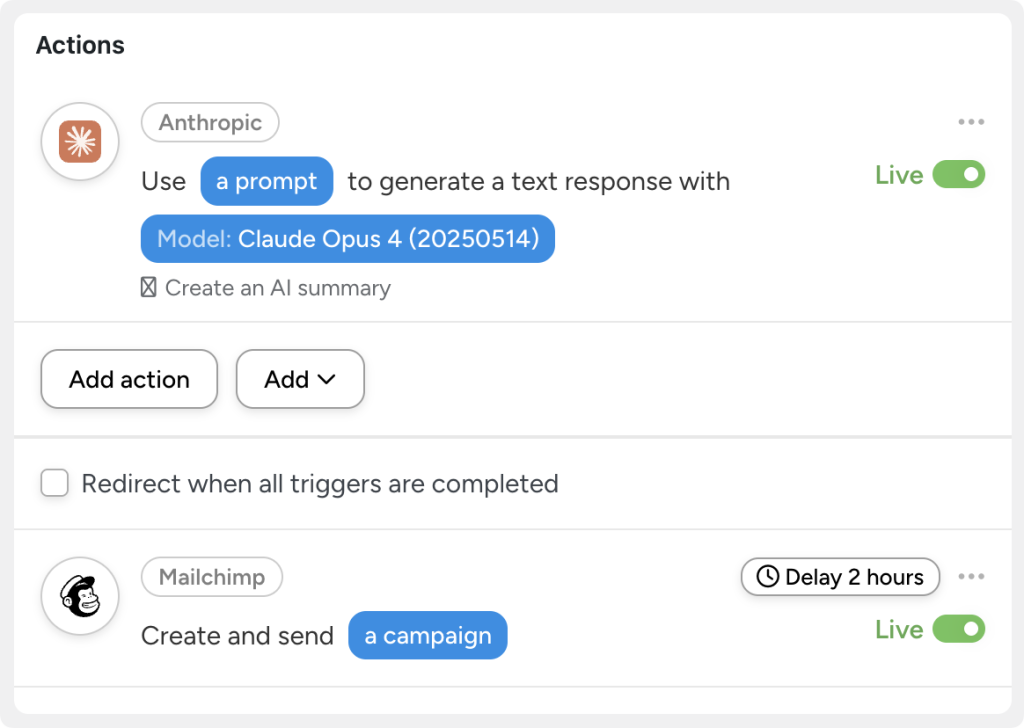
In the modal that appears, set the delay. For example, I have set a 2-hour delay.
Click Set delay.
Step 5: Go Live!
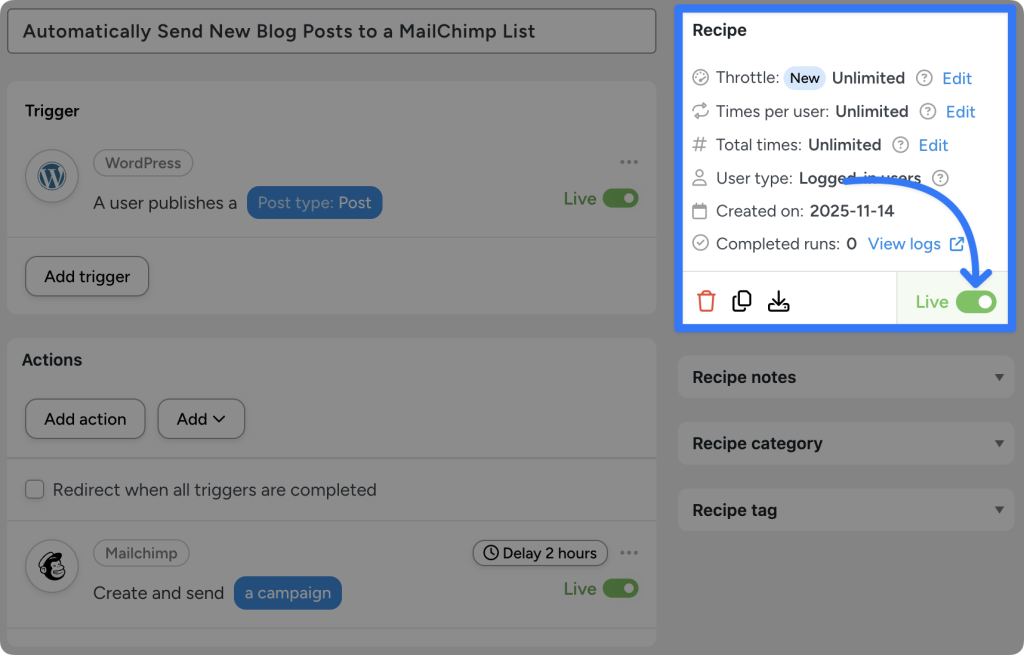
You’re just about ready to launch Mailchimp campaigns directly from your WordPress site. All you have to do now is toggle the recipe from Draft to Live.
That’s it! Now you’ll be able to launch Mailchimp campaigns directly from your WordPress site whenever you publish a campaign.
But why stop there? Automator has 216 integrations, giving you more ways to promote your content and connect with your audience.
Step 6 (Optional): Enhance with AI
Want to create compelling, original summaries of your content for each new email campaign?
Use an AI model like Claude to generate an excerpt, summary, or compelling subject line for your blog post.
More Content Automations to Boost Engagement
If you’re looking for more ways to automate your content workflows, here are some great ideas you could be using now.
- Reverse WordPress Content Decay >>> using scheduled automations that trigger AI reviews for more recent statistics, keyword optimization, and even internal link suggestions.
- Automatically Generate AI Content >>> right from your WordPress dashboard for product descriptions, blog posts and blog post images, meta descriptions, and more.
- 14 Easy Automations to Grow Your Email List >>> that you can implement to expand your reach with minimal effort.
- Track Your WordPress Email Opens and Clicks >>> to find out which campaigns and types of content perform best.
Conclusion
That’s all there is to it!
You’ve just connected WordPress to Mailchimp and automated your email campaigns—no coding, no hassle, just pure automation magic.
Whether you’re sharing weekly blog updates or surprise announcements, Automator handles the heavy lifting so you can focus on creating great content.
Ready to unlock even more automation possibilities? When you’ve used your complimentary app credits, upgrade to Automator Pro for unlimited campaigns, advanced scheduling, and AI-powered content enhancement.
Until next time, happy automating!


Hello!
Is there any way to preview the automation with Mailchimp before a post is published? Thanks
We’re afraid there isn’t a way to add workflow steps like previews and approvals right now. Maybe in future, but for now, when the action to send a campaign fires, it will go out in the Mailchimp side right away.