

Connecting QuickBooks Online to Uncanny Automator lets a recipe create invoices, payments, expenses, products, and customers in QuickBooks when something happens on your WordPress site, such as a WooCommerce order or a form submission. This article covers connecting your QuickBooks Online account, the five QuickBooks actions, and linking WooCommerce products to QuickBooks products so that invoices can be built from orders.
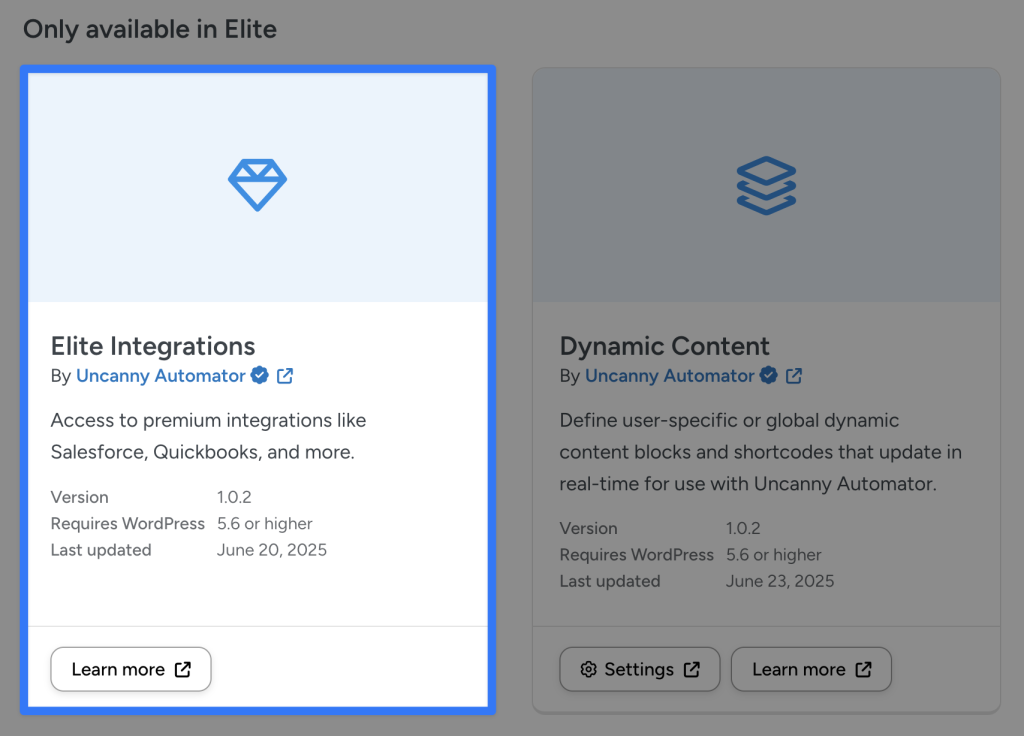
QuickBooks Online is an Elite integration. You need the Elite plan, Uncanny Automator Pro, and the Elite Integrations Addon installed and active, plus a QuickBooks Online account and administrator access to your WordPress site.
Connecting QuickBooks Online to WordPress
- In your WordPress dashboard, go to Automator > Settings > App integrations and select QuickBooks in the list of apps. The panel lists the five actions the connection enables.
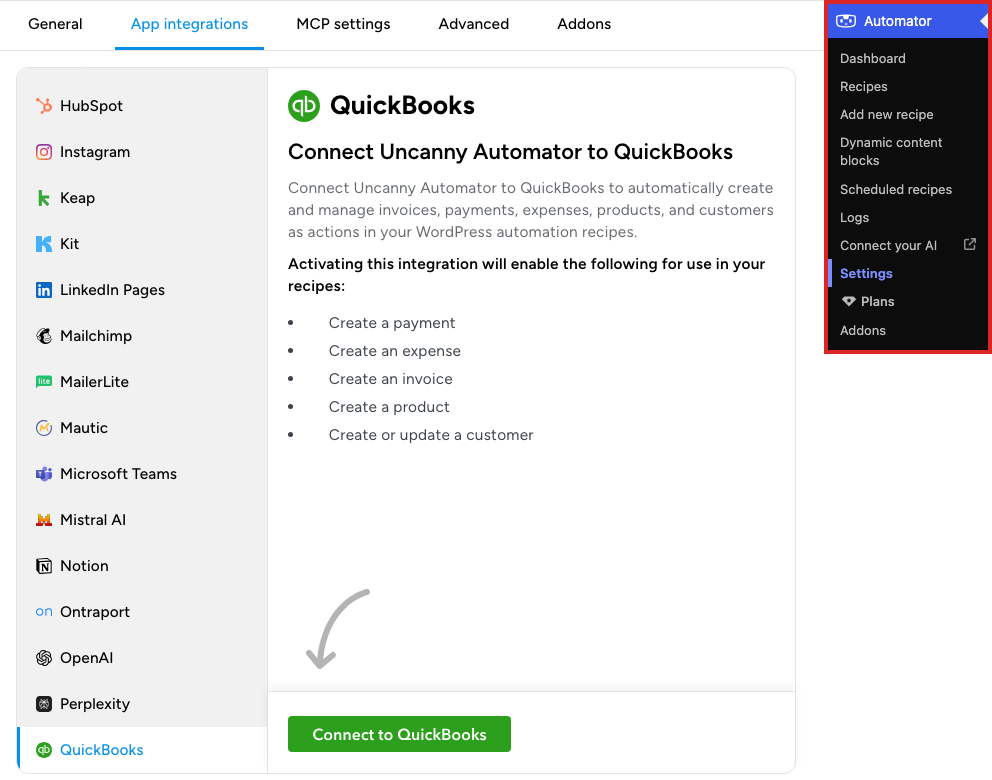
- Click Connect to QuickBooks.
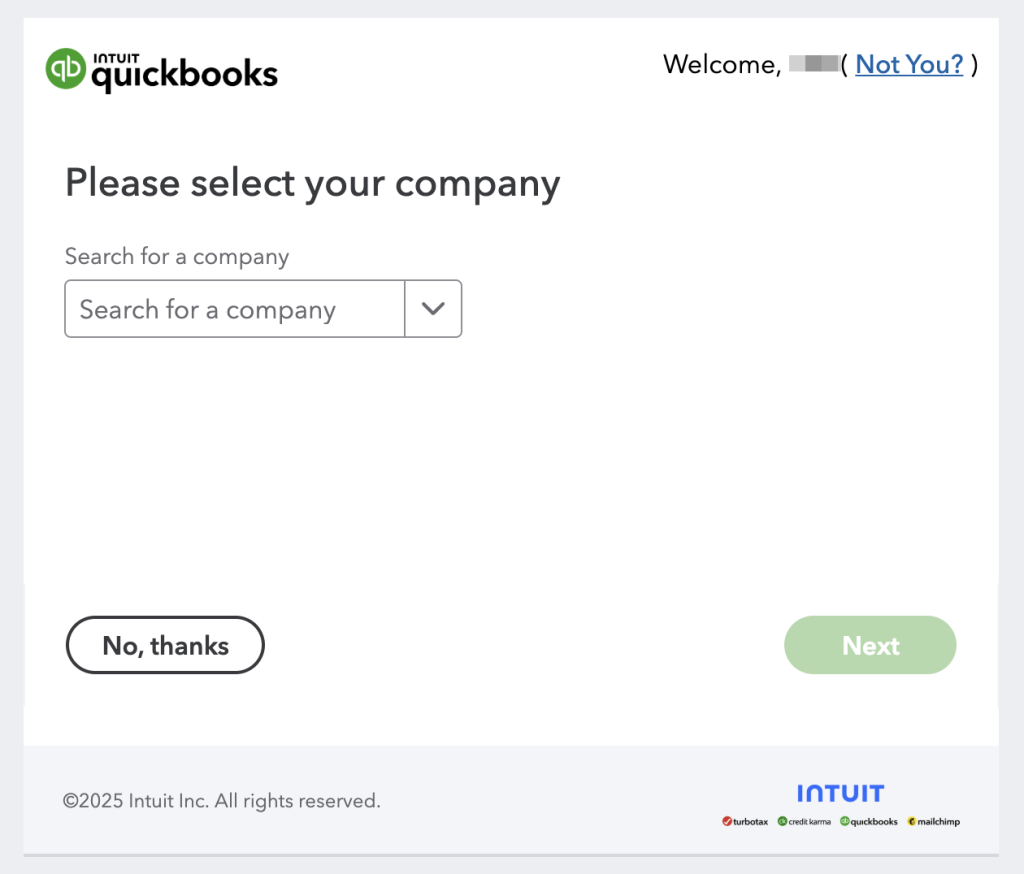
- Sign in to QuickBooks if you are asked to. Select your QuickBooks company and click Next.
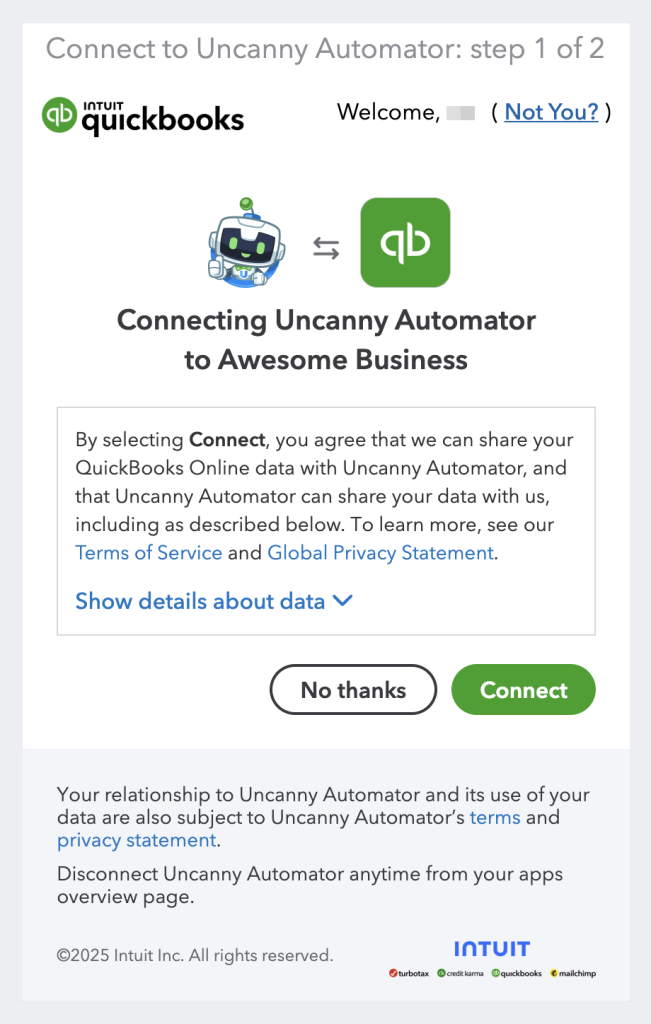
- On the screen that asks you to connect Uncanny Automator to your company, click Connect.
QuickBooks returns you to the App integrations tab, which now shows the connected company with its email address, Realm ID, and time zone, and a Disconnect button.
When WooCommerce is active, the panel also shows Refresh Products and Tax Codes. Click Refresh after you add products or tax codes in QuickBooks, so the product and tax code lists on your site stay in step with your QuickBooks account.
Uncanny Automator connects to one QuickBooks account at a time. To switch accounts, click Disconnect, connect the other account, and then review every recipe that uses QuickBooks: the settings page warns that existing recipes “won’t work as expected” after the connected account changes.
Note: If QuickBooks is not in the list of apps, go to Automator > Addons and check that Elite Integrations is installed and active.
Adding a QuickBooks action to a recipe
Until QuickBooks is connected, the recipe builder’s picker hides it while Ready-to-use only is on, so connect the account before you build the recipe. See Finding integrations in the recipe builder.
- Open the recipe at Automator > Recipes, or create one from Automator > Add new recipe, and add its trigger; see Creating a recipe.
- Click the + at the end of the flow. In the picker, search for “QuickBooks” and click QuickBooks Online, then the action you need:
- Create or update a customer: creates a QuickBooks customer from an Email address, or updates the existing customer whose primary email is that address (the first one QuickBooks returns, if several share it), with optional name, company, contact, address, terms, payment method, and delivery details. It gives later actions a Customer ID token.
- Create an invoice: creates an invoice for a Customer ID, with invoice date, due date, terms, and an email address. Under Invoice line items handling, choose Add invoice items manually to enter the lines yourself, or Add invoice items automatically from WooCommerce Order ID to copy the lines from a WooCommerce order.
- Create a payment: records a payment from a Customer ID, optionally against an Invoice ID, with the amount, date, and payment method.
- Create an expense: records an expense with its payee, payment account, payment type, expense category, amount, and date.
- Create a product: creates an Inventory, Service, or Non-Inventory product or service with its name, SKU, price, and accounts.
- In the Set up step, fill in the fields. Use the ∗ button at the end of a field to insert tokens, such as the order ID from a WooCommerce trigger or the Customer ID from an earlier Create or update a customer action.
- Click Save.
- Switch Recipe off to Recipe on.
Actions run in order, so a recipe can create or update the customer first and then pass its Customer ID token to Create an invoice. The invoice action in turn provides Invoice ID, Invoice number, Invoice total, and Invoice URL tokens for later actions, such as an email to the customer.
Linking WooCommerce products to QuickBooks products
When Create an invoice adds the items automatically from a WooCommerce order, every product in the order must have an associated QuickBooks product, or the invoice is not created. You set the association in the WooCommerce product editor.
- Go to Products > Add new product, or open an existing product.
- In the Product data panel, click the QuickBooks tab.
- Choose the Associated QuickBooks Product and the QuickBooks Tax Code.
- Update or publish the product.
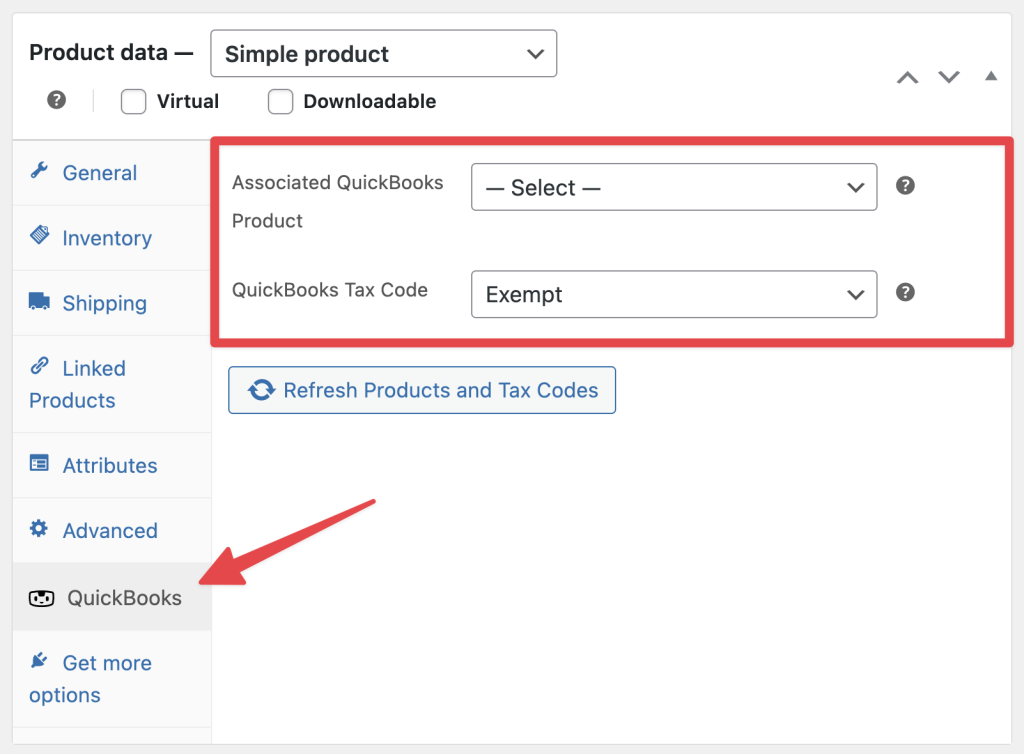
Both lists are filled from your QuickBooks Online account. If you add products or tax codes in QuickBooks, click Refresh Products and Tax Codes under the lists to load them. For a variable product, each variation has its own Associated QuickBooks Product and QuickBooks Tax Code fields in its variation settings.
Related: Installing the Elite Integrations Addon, Integrating WordPress with Salesforce, Finding integrations in the recipe builder, Managing tokens.

Comments (0)